





















Outline Alignment Stitches (OAS)
This blog will explain what my Outline Alignment stitches (OAS) are and why I introduced them to most of my designs. My older designs do not feature them and some newer ones do have them because I do not feel they are needed. Use this link to watch my video series on them.
Watch my series of videos on Outline Alignment Stitches
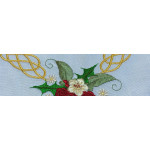
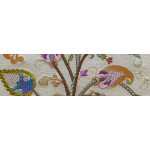
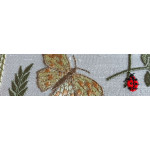
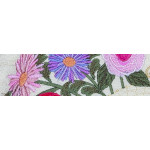
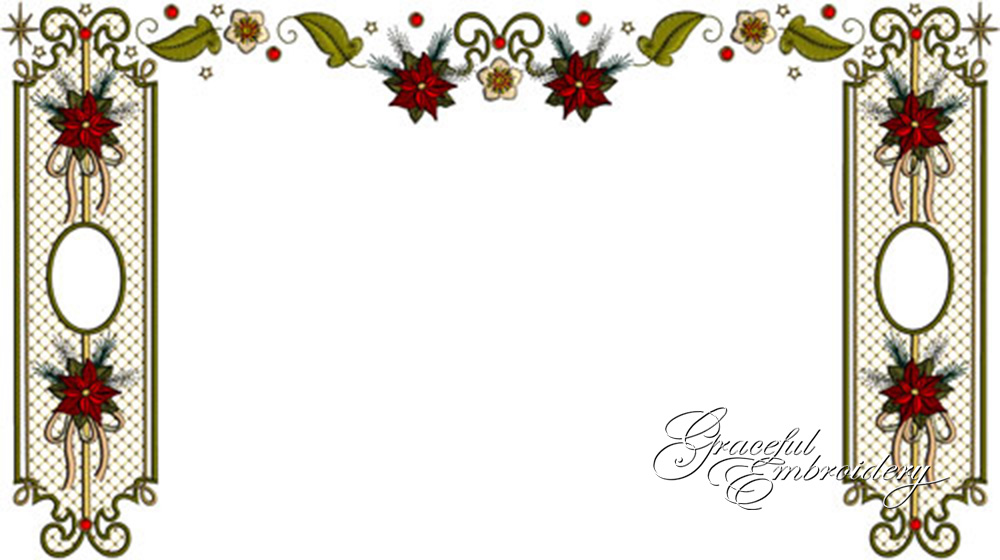
A while back I created a Christmas back ground for my website. The two column designs each side are from Poinsettia Promises 3. The central banner contains other elements from the collection but also some small designs from other collections, like ivy from Elegant Ivy, hellebores (Christmas roses) from Celtic Christmas and stars from Elegant Christmas Messages. I filled in a few gaps at the side so that the design flowed nicely across the webpage. This is a massive design impossible to stitch out in one hooping as it was larger than any hoop available, measuring about 430mm wide and 250mm deep. To combine and stitch it out I used my unique Outline alignment stitches (OAS). These enable accurate alignment of all 3 designs perfectly before having my website developer photograph it.

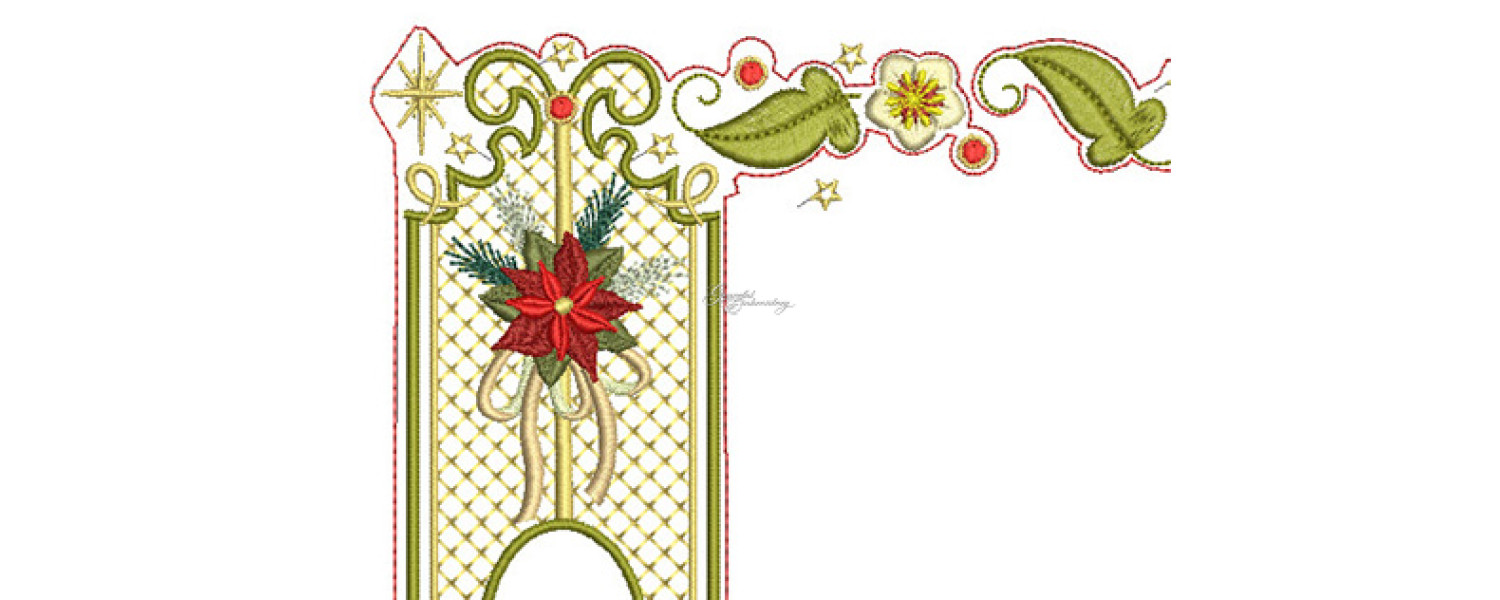
Here is the left hand panel. Notice that there are a series of red running stitches that surround the design giving an outline. Most of my designs come with and without this outline. What are there purpose though?

Designs with OAS have “-S” at the end of the name and can be found in a seperate folder when you download your designs from Graceful Embroidery. Place your stabiliser in your hoop, not your fabric. Then stitch out your first colour way which as you can see is an outline of running stitches.

Your fabric will be attached with temporary adhesive, tacking or pins. Placing it correctly will be so much easier using this outline. With most fabrics you will be able to see or feel the stitches beneath. If you cannot see the outline you may be able to feel it under the fabric or you can lift the fabric to see where it goes. Another trick is to place a pin directly down through the fabric and see where it protrudes on the other side. Never hurry your design positioning. I have added an outline of stitches to secure your fabric in position just in case your machine will not do it for you. It is not necessary to stitch these in red and blue. I use these colours throughout Graceful Embroidery to identify OAS.

After that providing the alignment is correct you can finish off your embroidery. However the real benefits of this system becomes evident when you have to position another design alongside it.
For my stitch out I decided that I needed to stitch the central one first and then place the column designs each side of it. Notice the alignment shown in the insert.

Here you see the perfect alignment of these three designs.
TIP: remove as much stabiliser as possible between hoopings so that there is not too much build up which may also be hard to remove when the embroidery is finished.

Here you can see a section of the finished stitched out.
These outlines are excellent when you need to know the shape and size of a design, even if you have the latest technology of precise positioning on your embroidery machine. That is how the OAS work and although you may have other methods to align your designs many of my customers love this unique method which is exclusive to Graceful Embroidery.
I also have a series of videos on Outline Alignment stitches.
Happy embroidering from Hazel