


















Finishing the Graceful Ivy quilted wallhanging
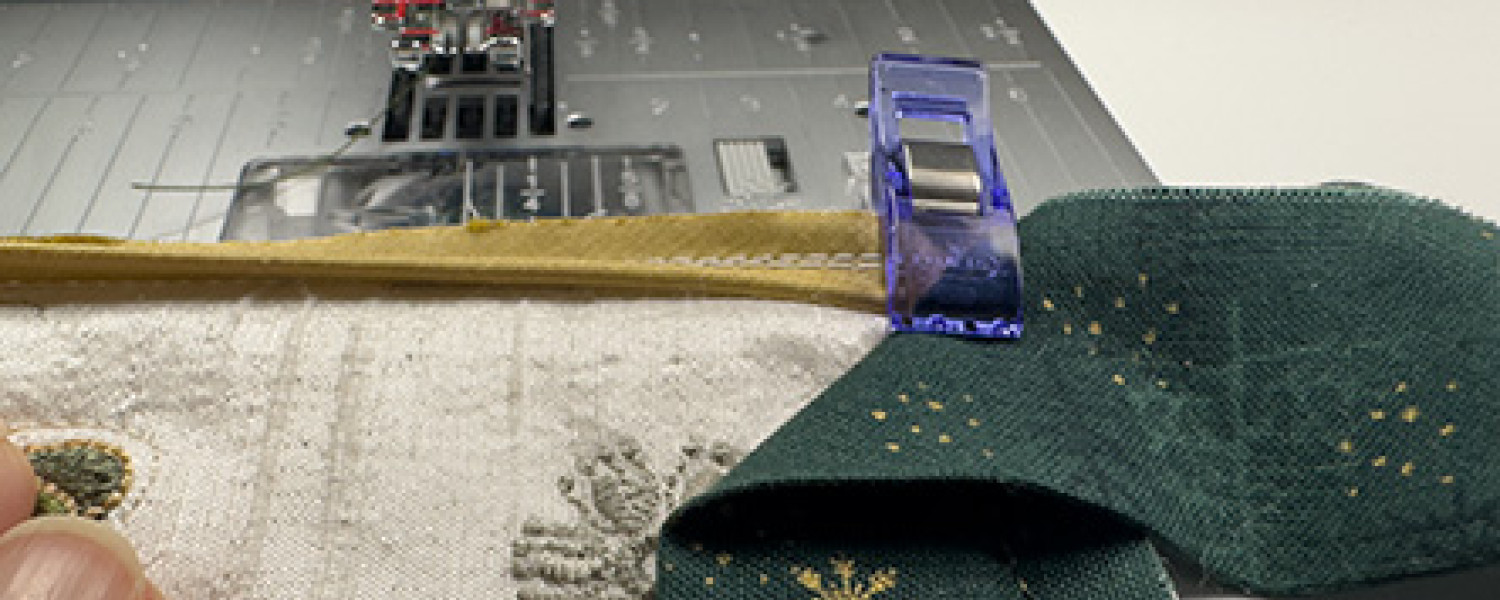
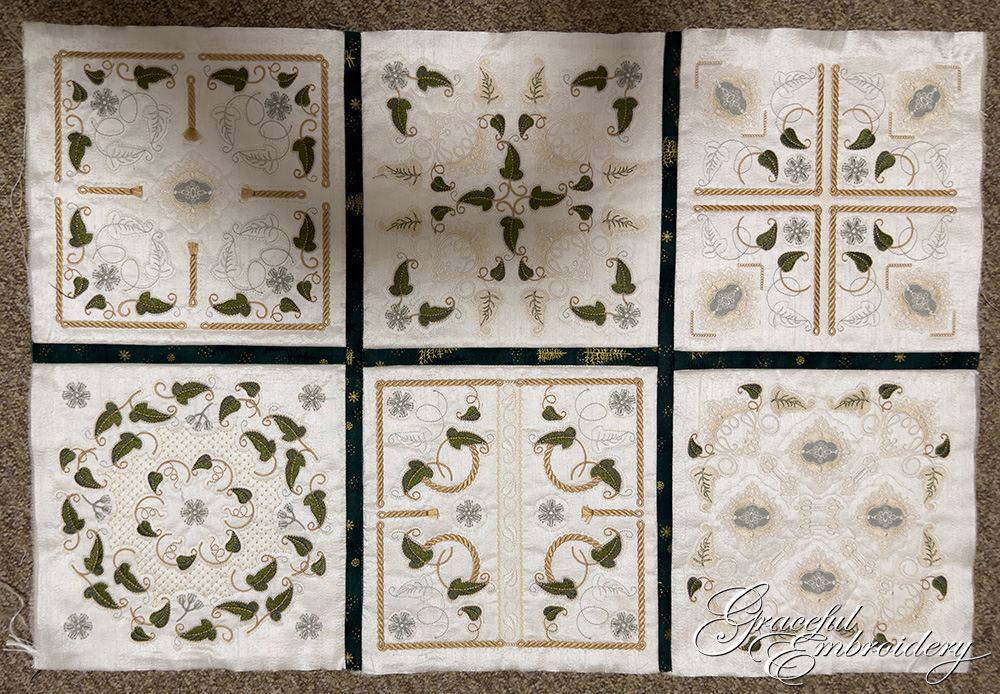
Once all the blocks were joined together it was time to consider how to finish the wall hanging off and to make it extra special.
One of the excellent tools I discovered to finish off my wall hanging was the Piping hot binding tool by Susan Cleveland. I found some dark gold silk dupion which I felt would be perfect for this, making the whole project pop!
There is a wonderful video on YouTube on how to create this piping with the template and narrow cord. I was able to purchase the kit and instructions from Amazon and heartily recommend it.
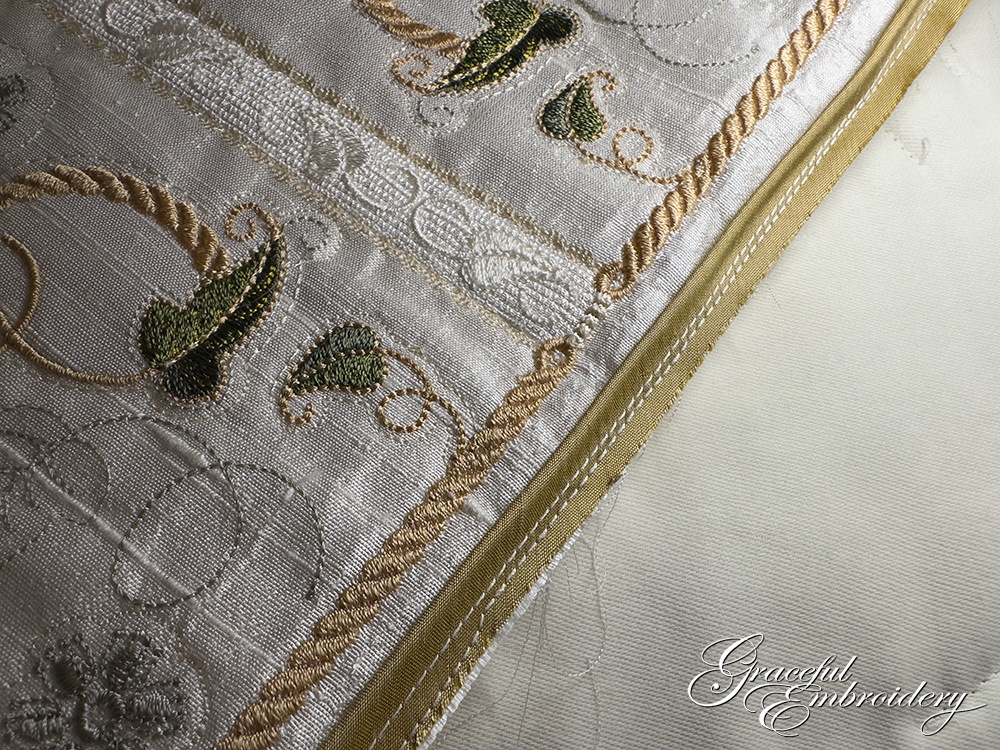
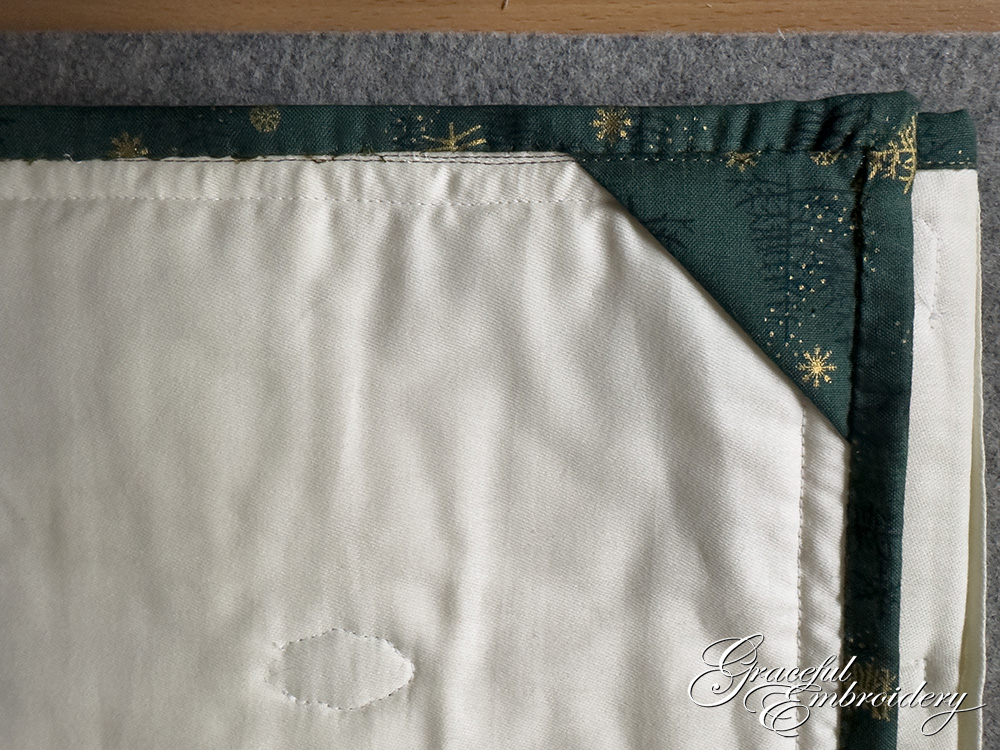
After the narrow piping had been created it was added to each side of the quilt. This a quite clever because when you add the piping you use a contrasting colour in the bobbin so you have guide lines on the back of your work for the binding. There has to be a gap between this row of stitching and the cord. You will see why later on. I did not stitch close enough in places so I had to go back and do some re-stitching! At this point it was time to add a folded square to each corner at the back of the wallhanging so it could be hung with a dowel rod. As the quilt blocks went together I became uncertain which way to hang it so I just put one in each corner so I had both options.
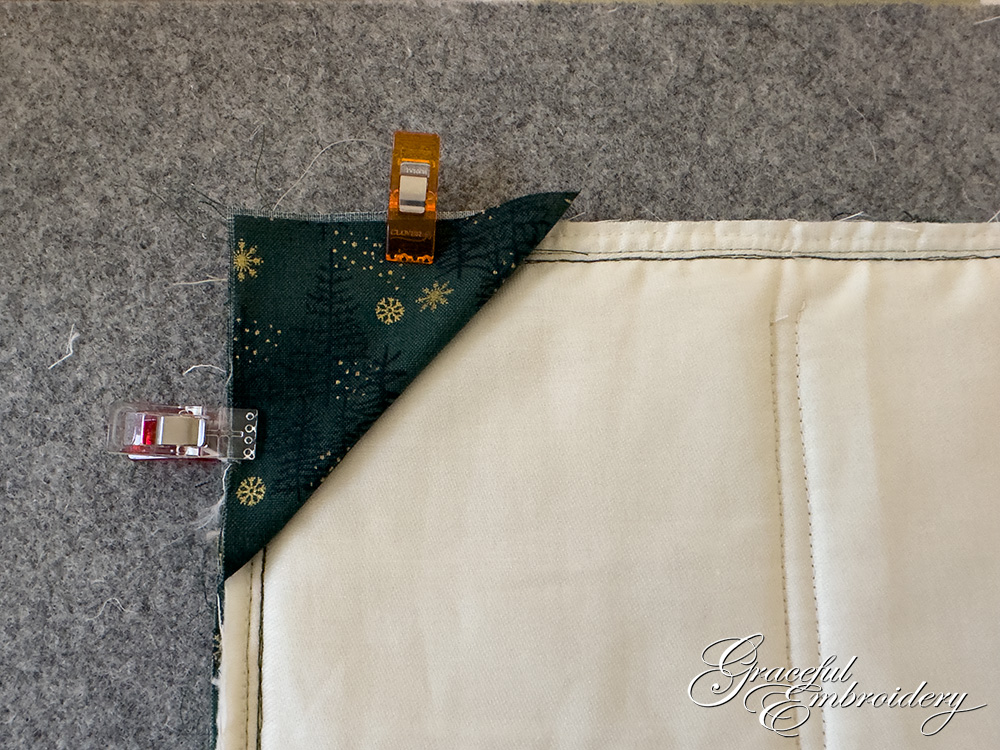
Unfortunately I had trimmed the outside edge of all the blocks too early which resulted in more fraying! Do leave the squaring of the outer edges of the blocks until this point after the piping has been added and just before the binding is attached.

With this clever method suggested by Susan Cleveland, my binding was pinned to the quilt and turned over so it could be stitched on the back of the quilt using that coloured guideline that was created with deliberately choosing a contrasting bobbin thread when the piping was added. It is a bit fiddly but if you measure and place everything accurately and do not rush it, stitching slowly just to the left of the coloured guidelines it works. I used a stylus to locate the position of the cord as shown above.
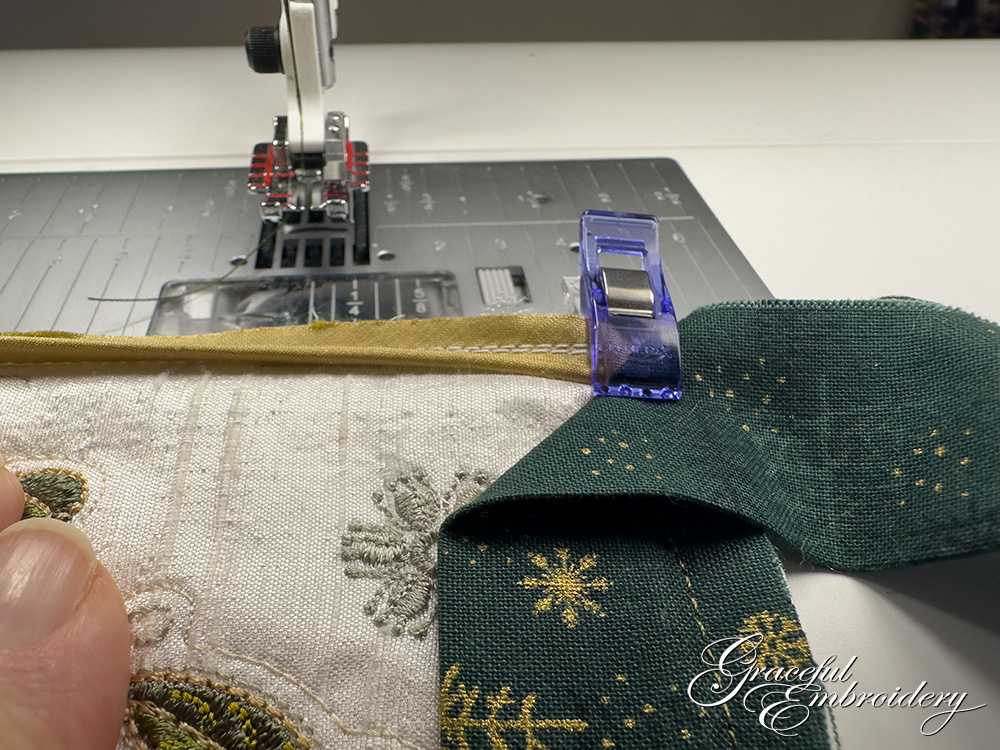
Starting in the middle of one side I left about an 8" inch tail. Then as I reached each corner, I stopped a ¼" from the end, and then the two stages of the mitred corner were performed. I think I need to practise this a little more as they didn’t go as well as expected but that is probably the perfectionist in me talking.
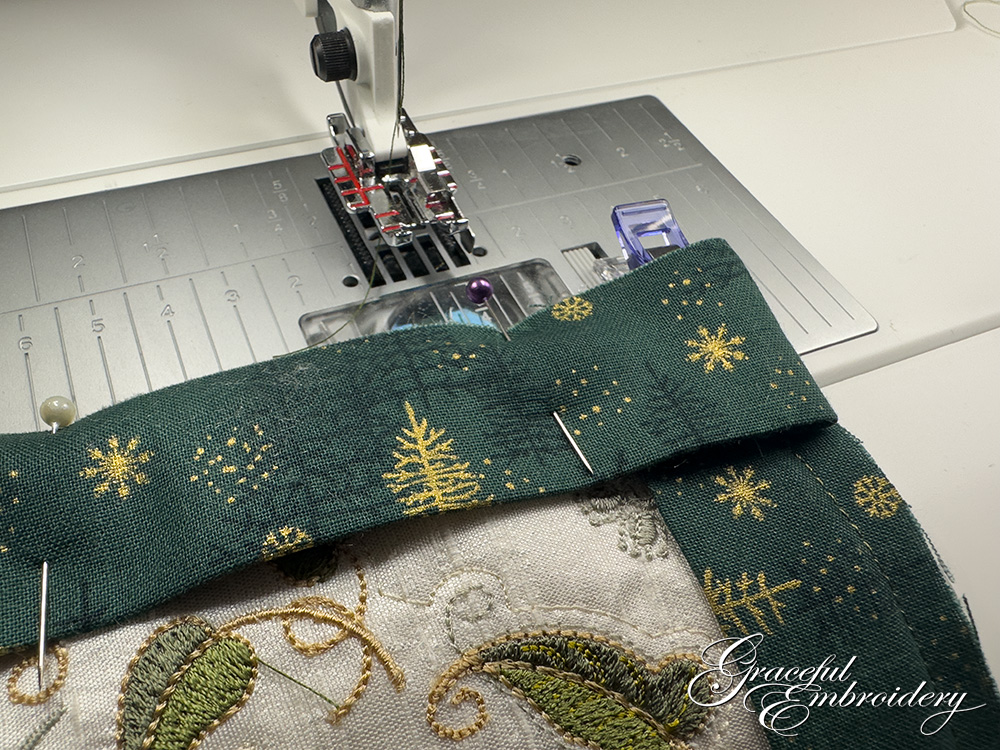
The binding is joined in the middle of one side. All the instructions on how this is done is shown in the Hot piping booklet.
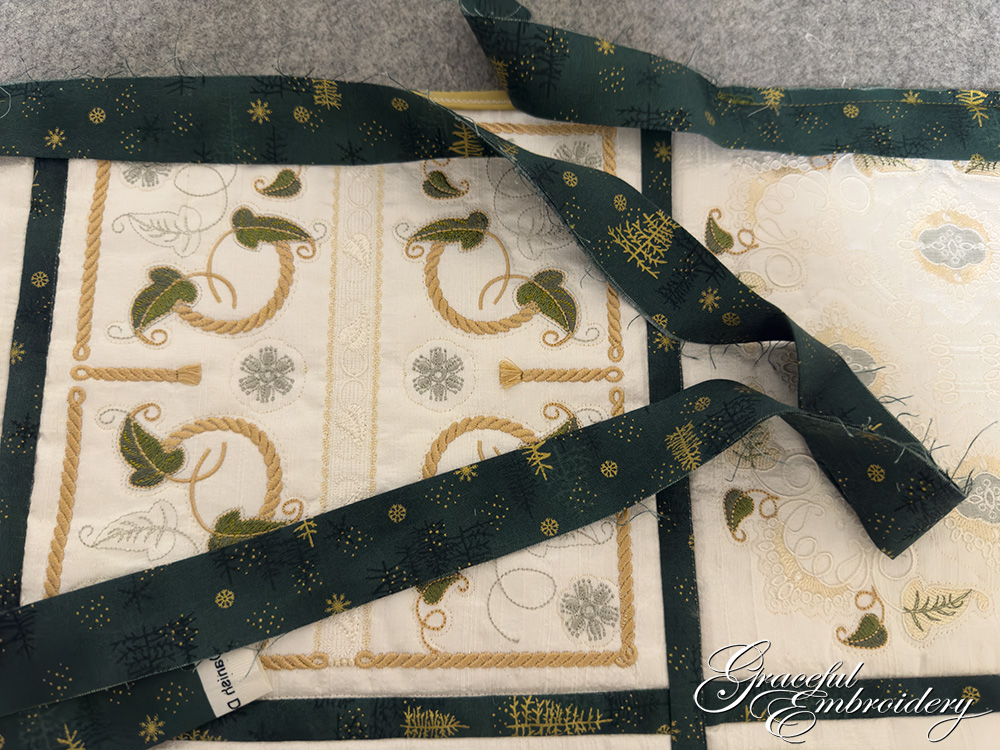
It is called the kiss and twist method. The amount of overlap is detemined by how wide your binding is. The following photos show the process. Again the measuring is crucial. I found the first stage the hardest especially as I got it the wrong way round. It is probably best to attempt this first on a small quilt so you do not have a lot of weight pulling against you.
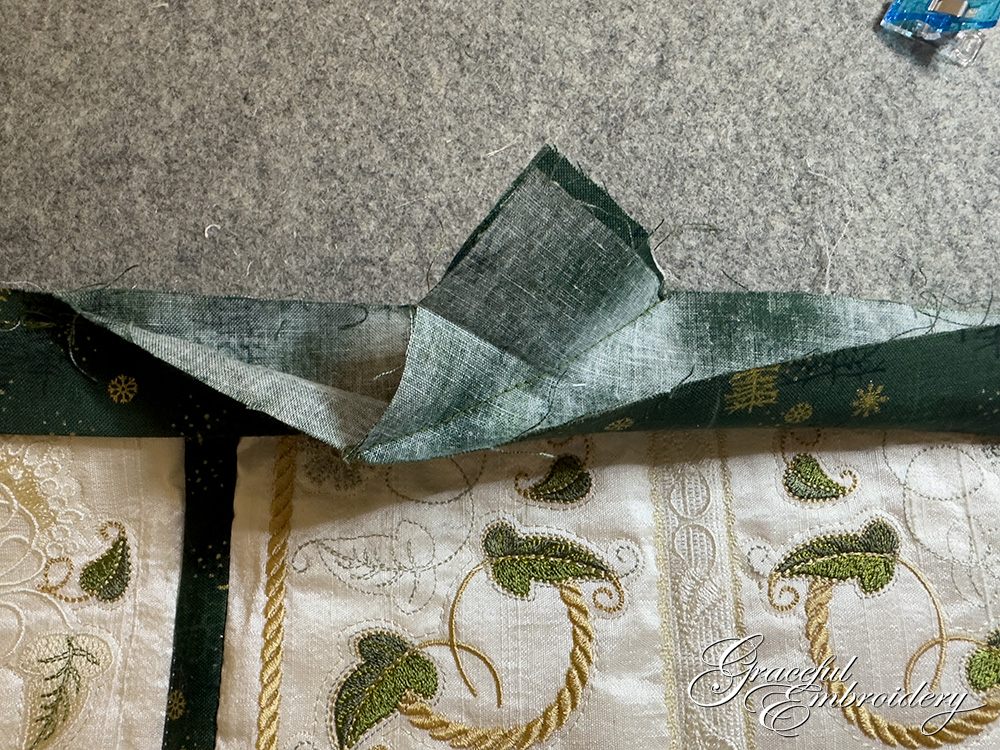
The fabric is trimmed and should be pressed open which is difficult if you do not have a small iron. I managed to avoid pressing the embroidery stitches on the front which is never a good thing.

This was the second time I have attempted this method so I was delighted when it worked. It requires a little courage but will give you a satisfied grin for a while if it works!!! I then pinned and closed the gap.
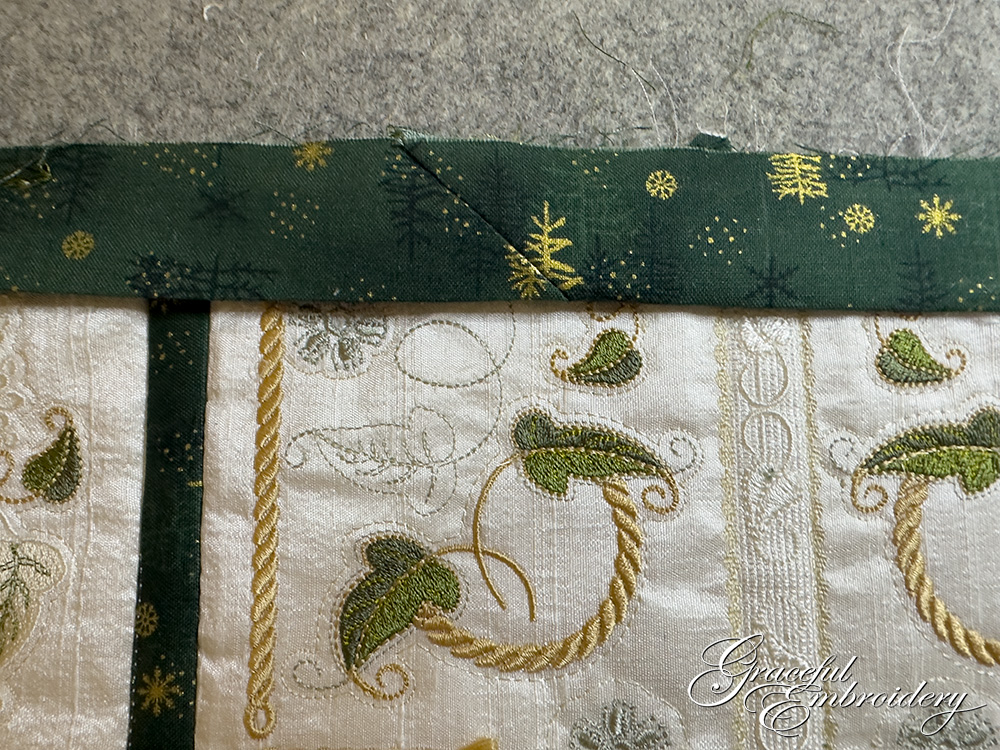
When the binding was attached I pressed and folded it around to the back of the quilt. I attached it with my stitch in the ditch foot as I am not a favourite of hand stitching and I wanted to get more practise at doing this. However I confess that it did not catch completely in some places so I had to resort to some hand stitching.The corners all required a little hand sewing too, and I am not sure about the mitres. Before I do this again I am going to look at some other methods of getting them right.
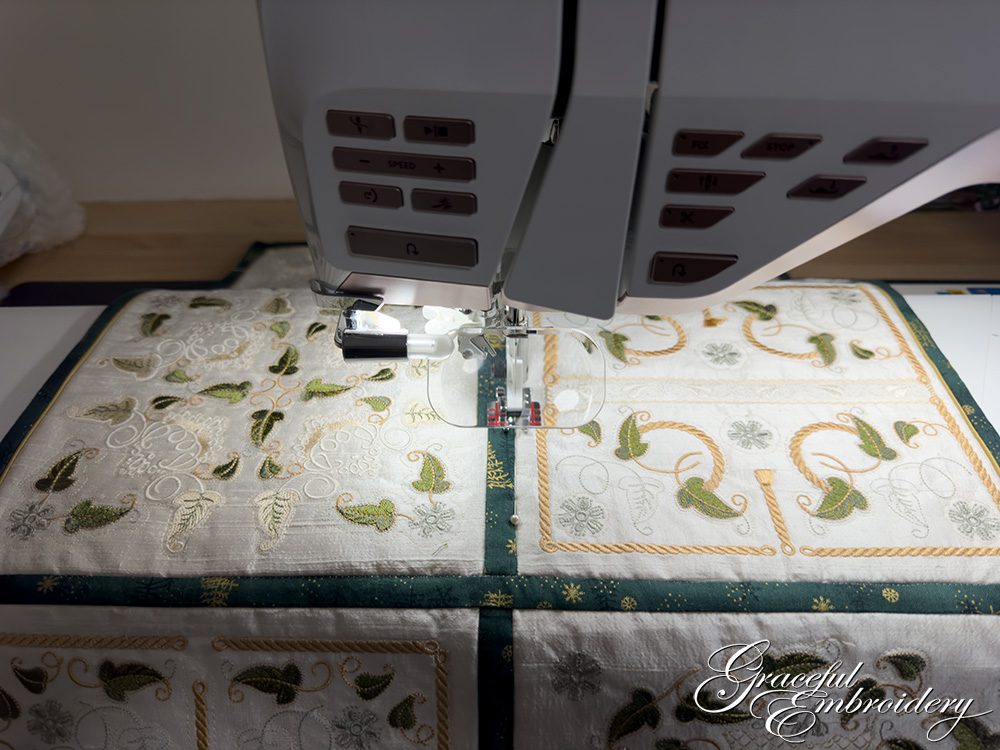
As I examined my finished quilt, I noticed that some of the stitches in the ditch were not accurate so I unpicked them and did them again. Needless to say I forgot to change the bobbin thread, so although they were much improved on the top, they will have to be done again as I had green thread in the bobbin.
Upon reflection choosing to do the backing in a cream cotton curtain lining was not a good idea. I don’t like the busy darker fabrics which quilters use but I understand why they use them now. Light fabric will show up all the tiny flaws and all the stitches but nobody except you will see the back I suppose!
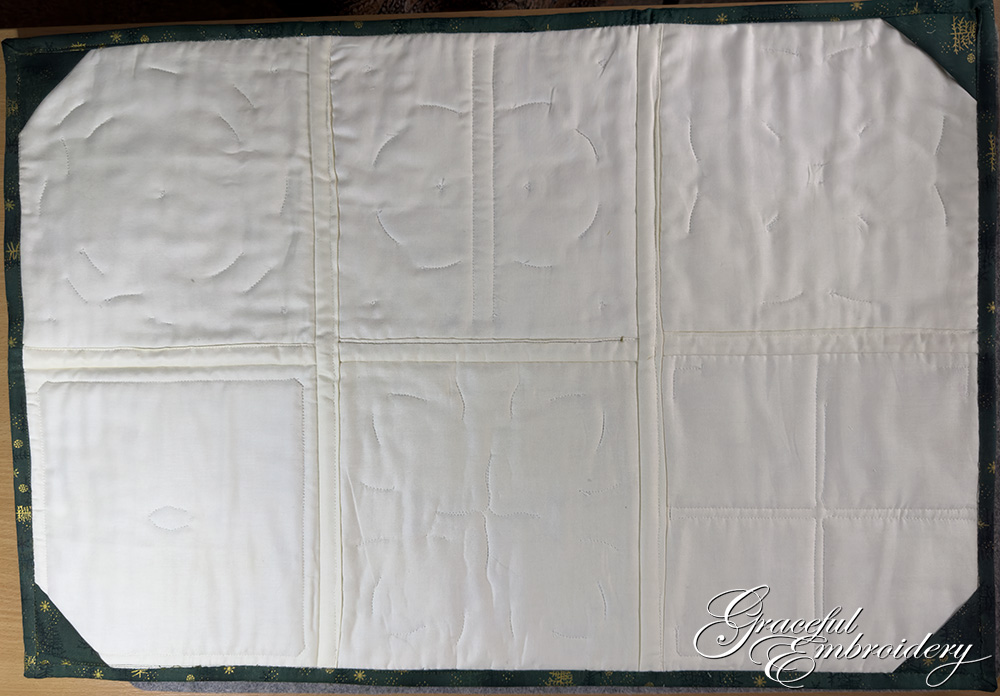
I am not proud of the back of this quilt and wonder how different it would have looked if I had used the green fabric but that involves more cost. Oh well. Another lesson learnt which was partly the reason for making this wall hanging.
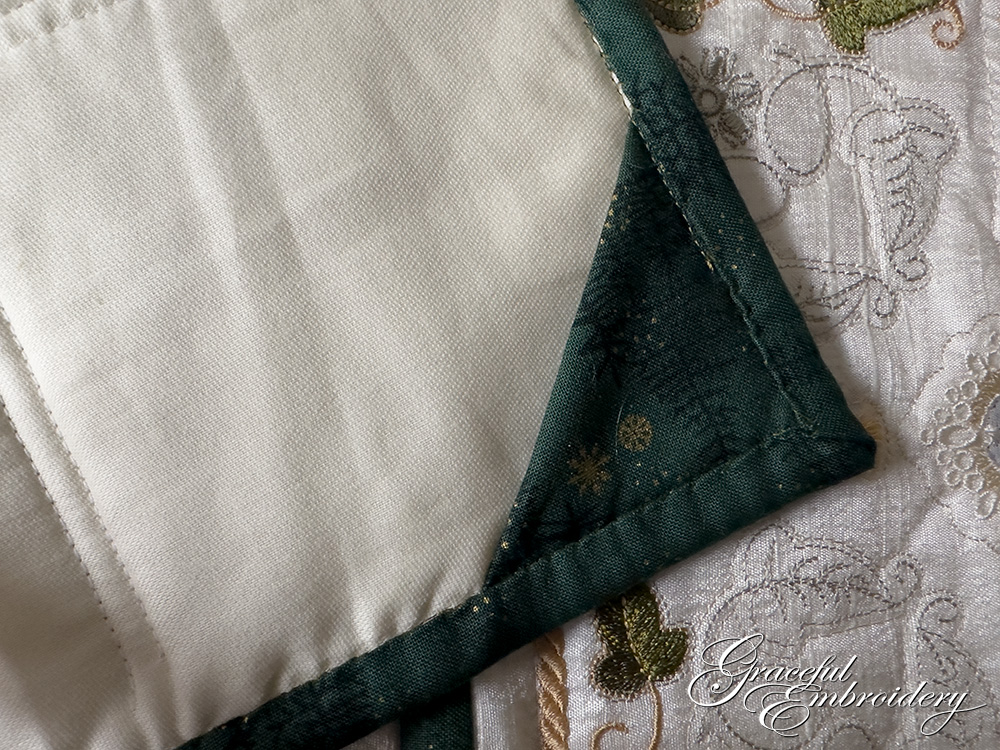
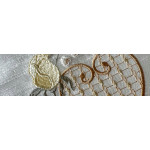
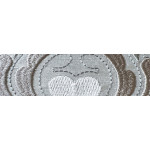
The final stage of making the quilted wall hanging involved adding some hot fix crystals which I always enjoy doing! Sorting through all my pearls and crystals I found some perfect ones to match the piping. Although I have lots of green ones, I just couldn’t find the right shade and the gold works better as there is plenty of green in the wallhanging already. To begin with I just placed the cyrstals in the ivy seed heads, but as one of the blocks did not contain any I placed them in the centres of the medallions as well.
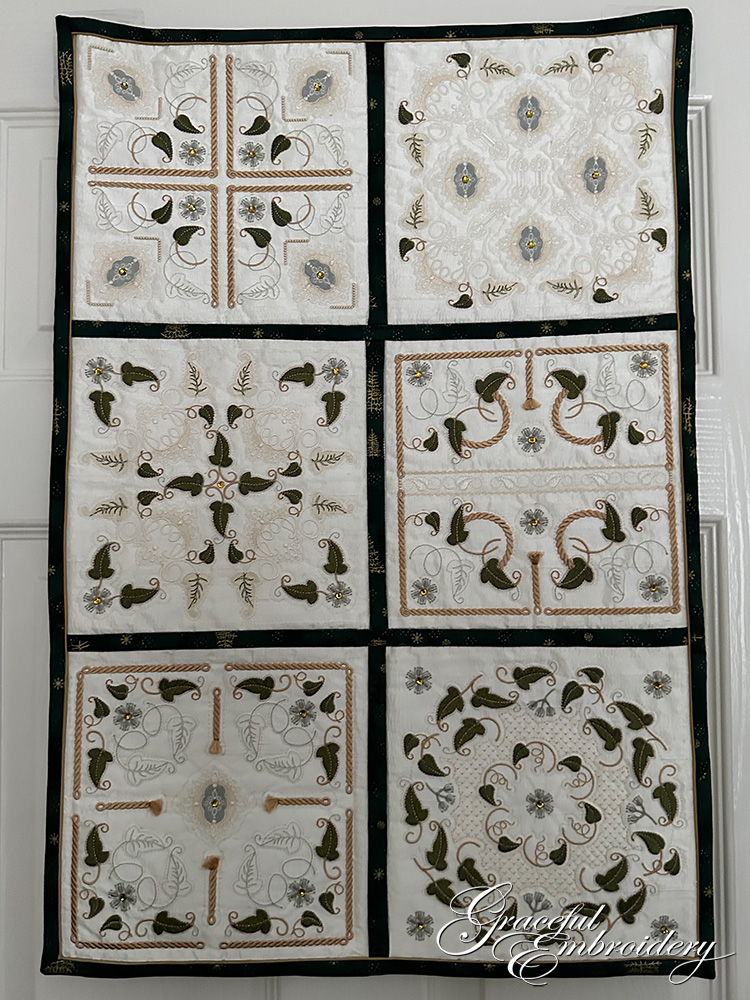
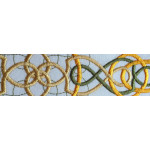
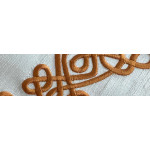
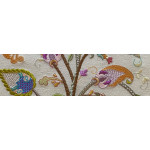
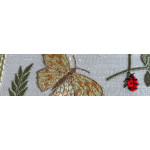
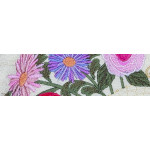
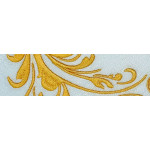
Here is the quilted wall hanging finished and hanging on my door. I bought some Ho Ho hooks from a UK company, reusable stickies used to hang Christmas decorations, to support it. I have taken close ups of each block so you can see how I enhanced them with the crystals. At this point I opened up the tassels gently and did any necessary trimming.
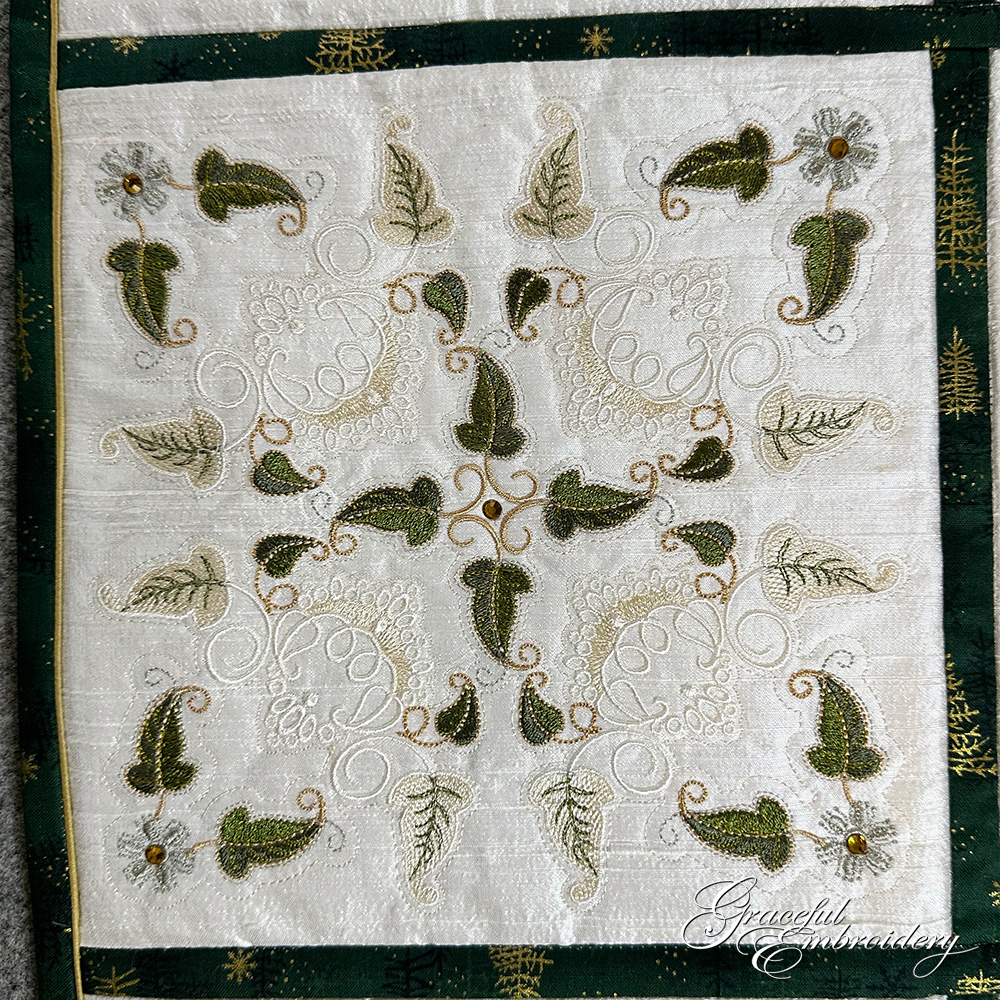
Graceful Ivy quilt block 11 (GFE-GVY-4-11)
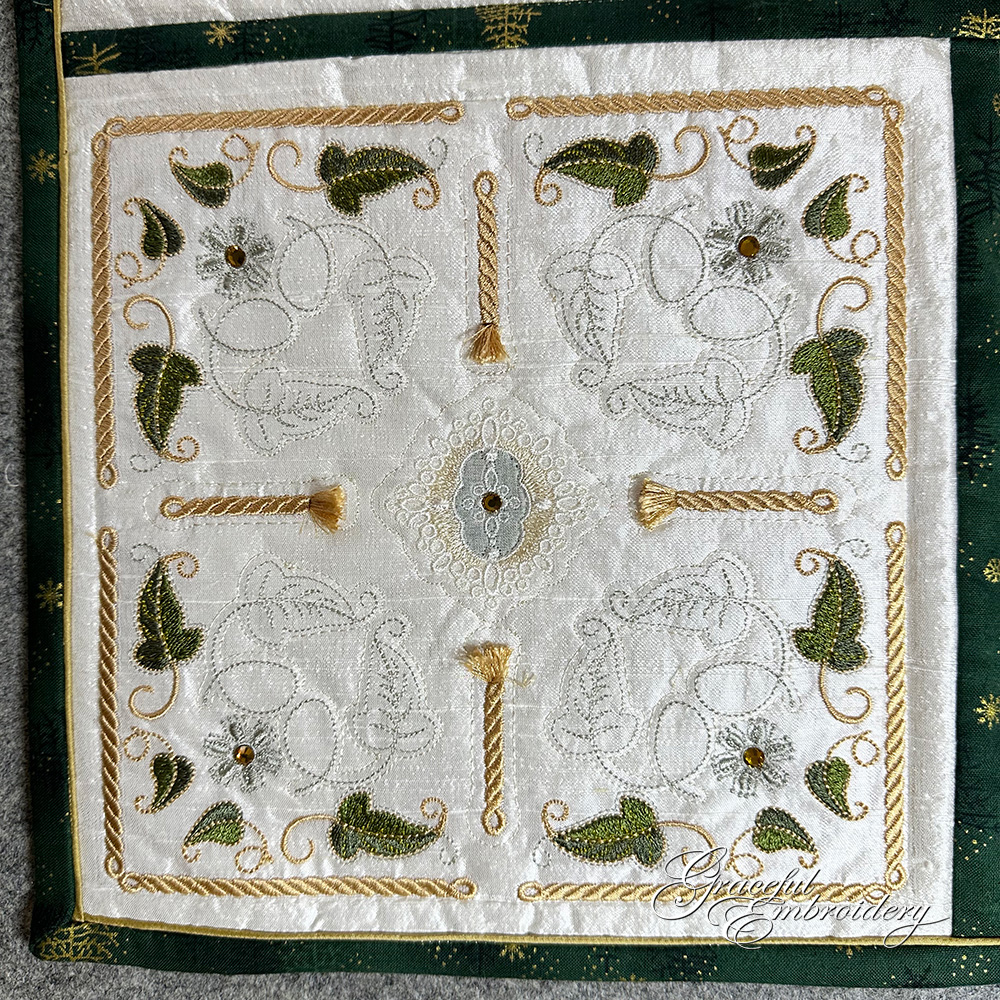
Graceful Ivy quilt block 12 (GFE-GVY-4-12)
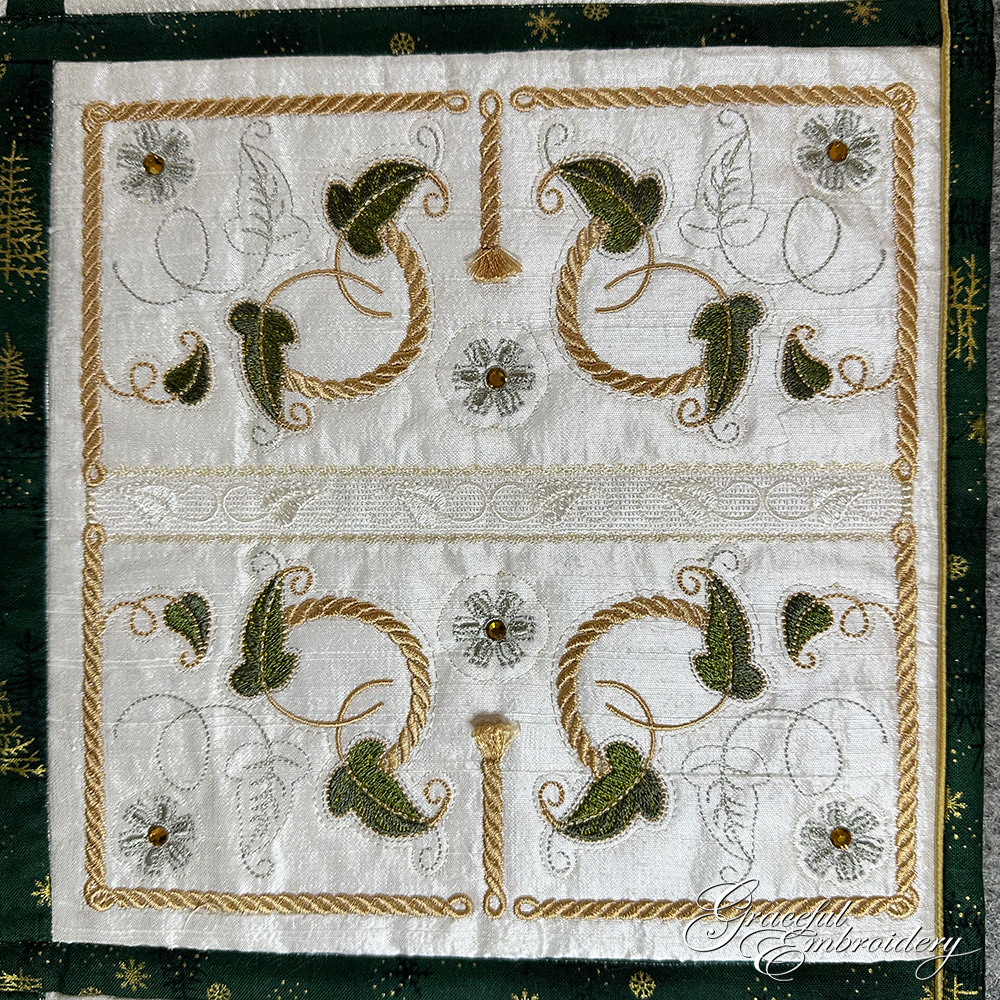
Graceful Ivy quilt block 13 (GFE-GVY-4-13)
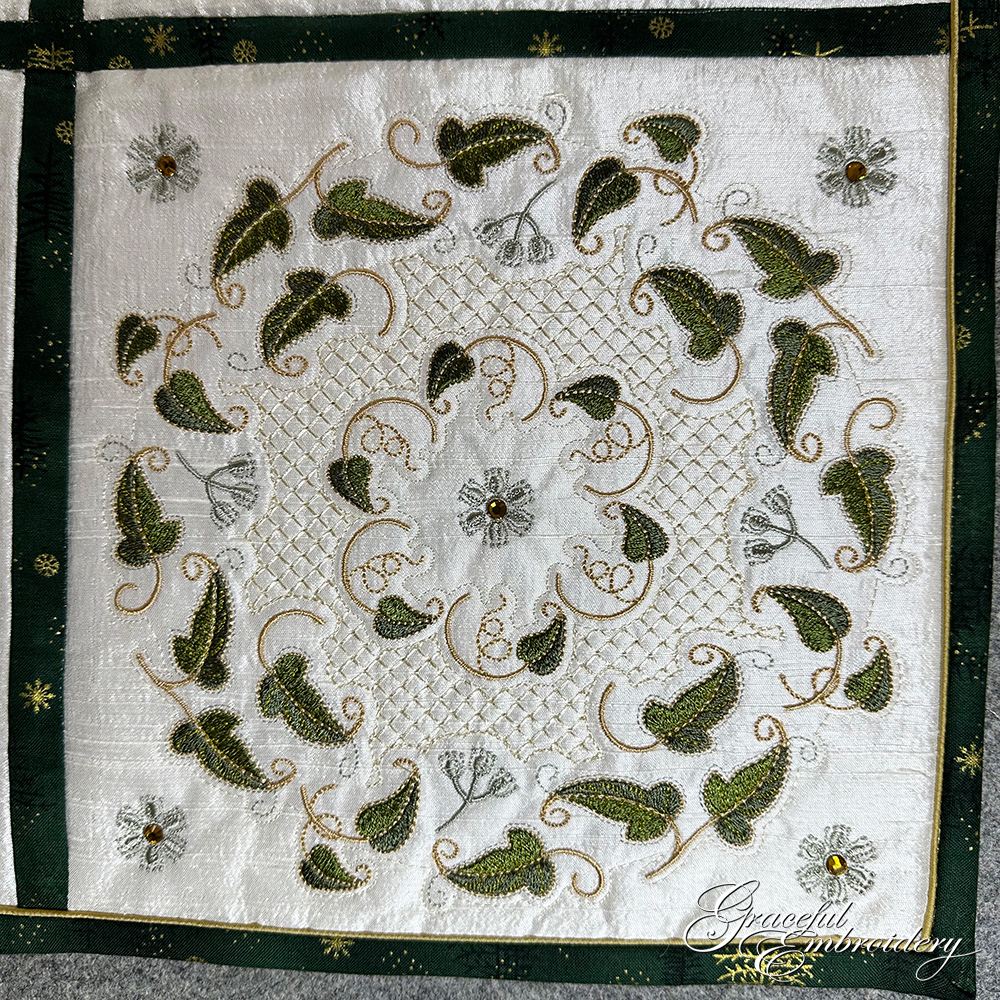
Graceful Ivy quilt block 14 (GFE-GVY-4-14)
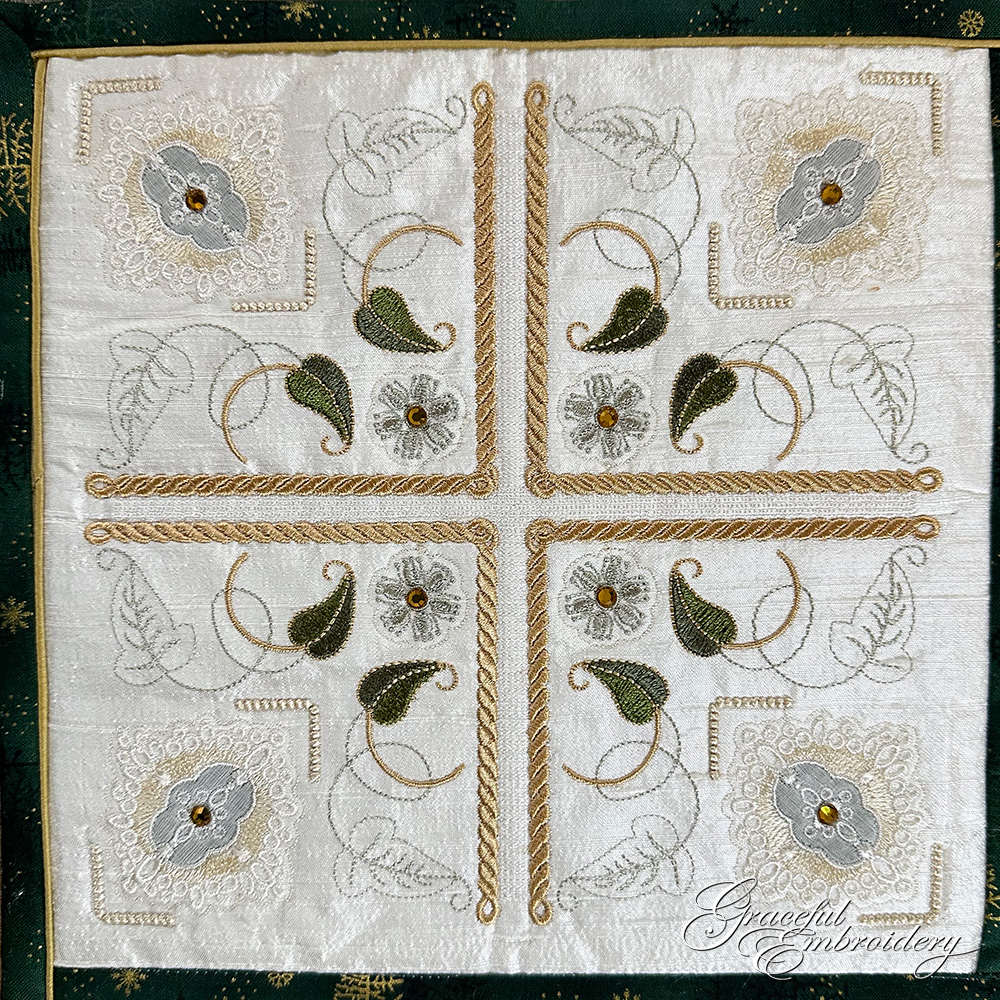
Graceful Ivy quilt block 15 (GFE-GVY-4-15)

Graceful Ivy quilt block 16 (GFE-GVY-4-16)
I have learnt so much making this wallhanging, enjoying the challenge and I am pleased with the result. Now I am looking forward to doing something similar with the Jacobean Sampler Quilt blocks. In closing I think it would be good to look at what I would do differently next time.
- I would test out all the new techniques on a small version before attempting them on the project.
- I need to do more mitre corners to get them flatter and neater
- I would use a dark busy backing fabric instead of a light backing.
- My silk fabric would be overlocked from the start to minimise fraying.
- I would cut my fabric, batting and backing fabric much larger.
- The backing fabric would be added underneath the embroidery at the same time as the batting!
- When squaring the blocks I would just mark the cuttting lines, and cut each one as necessary.
- Next time I will hand stitch the binding in place.
- I need to always triple check my bobbin thread is the right colour
Lastly just before I go, when you finish a project like this containing batting, give your machine a thorough clean. I have just cleaned both my machines as the quilt blocks went under the needle on both. There was lots of lint collected around the bobbin area. With a new needle now I am ready to start something fresh next time.
Since writing these blogs I have discovered much more about joining quilt blocks.
Check out the first of 3 blogs.
Happy embroidering from Hazel