




















Crazy Quilt block pastels and luxury fabrics
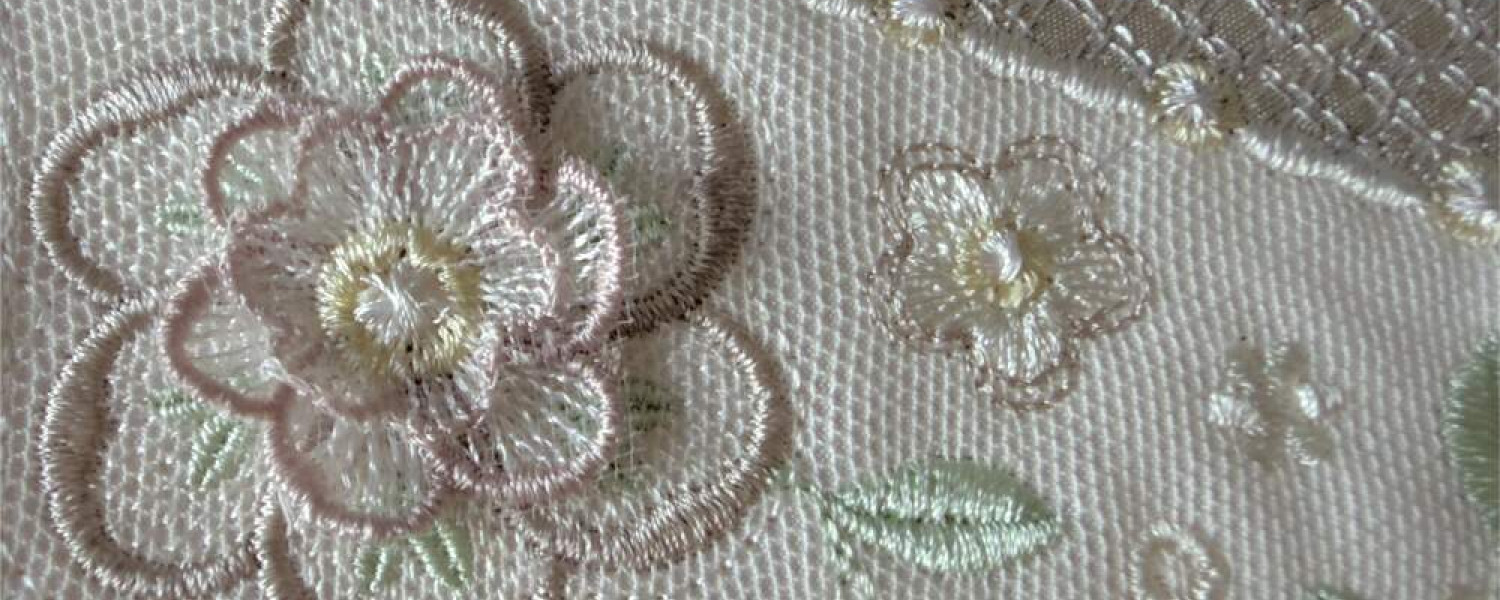
I have had such fun working on my latest Romantic crazy quilt block. This block, number 17 celebrates lace, mostly Free Standing lace. I have also included some embroidery designs stitched out on tulle which are very delicate, lighter than normal FSL! Many of the elements in the block come from the Rose Gold Bridal collection. Although I have assigned delicate pinks and creams to this block I thought it would be fun to create a pastel version, using the most delicate shades of embroidery thread available and some very special fabrics I have collected over the years.

I went through my fabric stash of silk fabrics that I have collected over the years. So many memories of bridal gowns embroidered and happy smiles on faces! I even found some cream silk duchesse satin and eventually found a pastel pink silk dupion piece just big enough for one of the sections of the block. The base and the 4 fabric segments were all prepared by pressing them carefully and adding Heat and Bond to the back. I used a silk organza pressing cloth to do this along with a teflon pressing sheet so the adhesive did not get on my iron or pressing mat. The teflon sheet goes at the bottom, followed by silk dupion, then the Heat and Bond (a fusible webbing) adhesive side down and then my organza pressing cloth on top. I decided to back the base fabric with Heirloom fusible batting instead of stabilizer.

My first mistake was selecting the wrong hoop on my Epic 3. I choose the 200mm x 200mm hoop instead of the 200mm x 200mm metal hoop which is used with magnets, and broke a needle in the process as the design was too far over to the left. Both these hoops are older ones and require an adaptor for my Epic 3. In future to avoid this haappening I will do a corner test for all hoops that require the adaptor, as the machine cannot recognise which hoop I am using hence my needle breakage. I had to do a little careful unpicking as a small area of my base fabric would have tiny holes where I removed the rogue stitches. To repair this I decided to layer a piece of ivory English cotton net over the area to hide the holes and also as an experiment. It was a bit fiddly to do but I managed it in the end. The placement of fabric segments is always more challenging if you are working with fabric that is only just big enough. The larger your fabric the less likely you are to position it incorrectly.

Each of the four fabric sections were added carefully. The hoop was removed from the embroidery unit after each was attached so the inner seam could be trimmed and pressed in place. A little fabric glue will help the fabric lay flat. Once again the silk organza pressing cloth protected the delicate fabrics, especially the net. However I was not happy with the way the lower right corner fabric was sitting so I carefully undid its edge stitches, popped more fabric glue underheath, pressed it again and then put the hoop back on the embroidery unit. I think I failed to add sufficient glue the area underneath. I have yet to experiment with double sided Heat and Bond, but I will when I ordered some. I am sure this would work well.

Once all the sections were pressed and I was happy it was time to move on to the embroidery and the lace elements which can be added during this process. Obviously I have quite a few prepared and I intended to decide as I went along, depending on how everything looked.

The top left segment used a piece of one of my favourite dupion silks which I have not been able to order again. It is a shot oyster and ivory silk dupion which used to be my previous website’s background, so although a little darker than what I was aiming for, the motif fill stitches in off white (Sulky Rayon 1071) that cover this segment toned it down perfectly. You could easily omit these stitches out if you did not want such a busy area of embroidery in this segment.
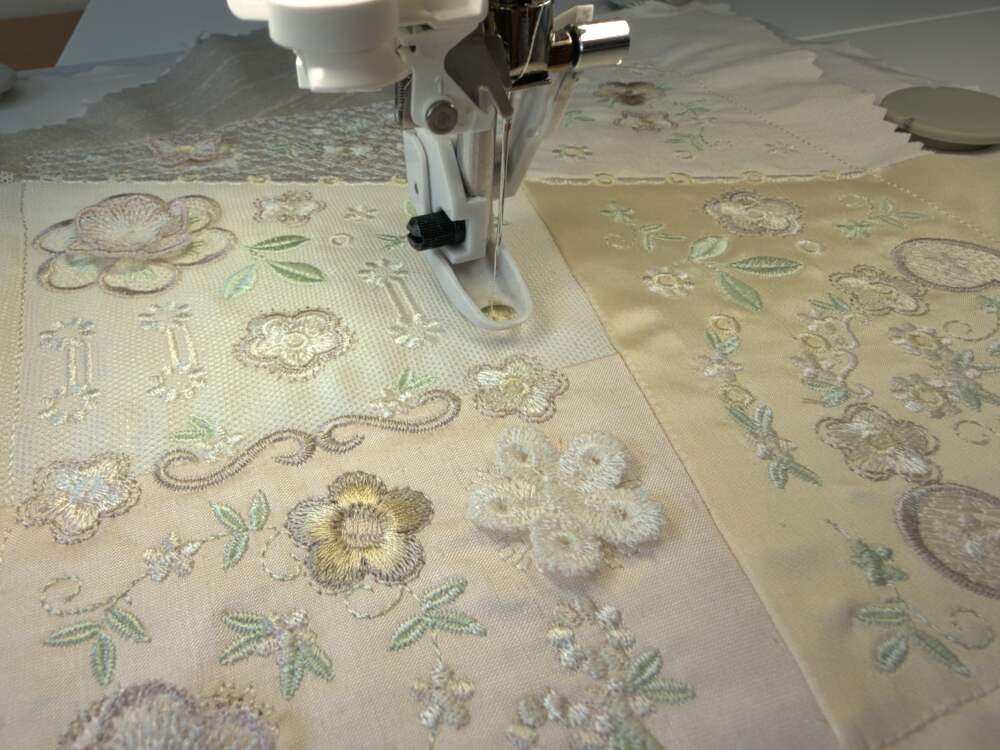
The process of embroidering went reasonably smoothly. Due to a health issue it has been a while since I have done a more complicated project. Am I the only one who finds a period of inactivity on my machine means I will make more errors along the way I wonder? However we learn by our mistakes and the challenge is always to work around them or find a way to disguise them rather than throw the project away. I made a few colour changes as embroidery stitched out. I began to see a little misalignment so maybe the batting was not sufficent to hold the project. One layer of stitch and tear would probably have prevented this but I wanted to experiment.

The silk duchesse satin stood up to the embroidery very well. I am sure the backing helped enormously and a new fresh needle. I was excited to reach the point where I could add some of the prepared flowers. This time around I decided to try out the Roxanne’s glue baste that I use for my quilting projects. When adding elements it is important to turn the speed down to its lowest setting so you can easily stop the machine and make adjustments if necessary. A stilleto, especially the sixth finger one is very useful to stop the edges curling over. Remember that many home embroidery machines can be controlled by the foot pedal allowing you both hands free. I did stop and unpick a one inserted flower, and another one just would not go right, probably due to some misalignment so a large crystal will probably hide that error. The delicate petals inserts are very fragile and will not survive an unpick so it is important to prepare plenty of them. You can layer them as I have done for the largest flower in the block.

It was so satisfying to see the length of lace stitch down the middle of the block, remembering all the work that went into getting it just right. Overall I am delighted with how this stitch out turned out. There are a few colours that are not a perfect combination. It is always hard to get the balance correct. You will have noticed that I prefer to use threads that are very similar as I love to see how they all blend together. It is the overall effect that is important, and none of the threads should be too prominent.
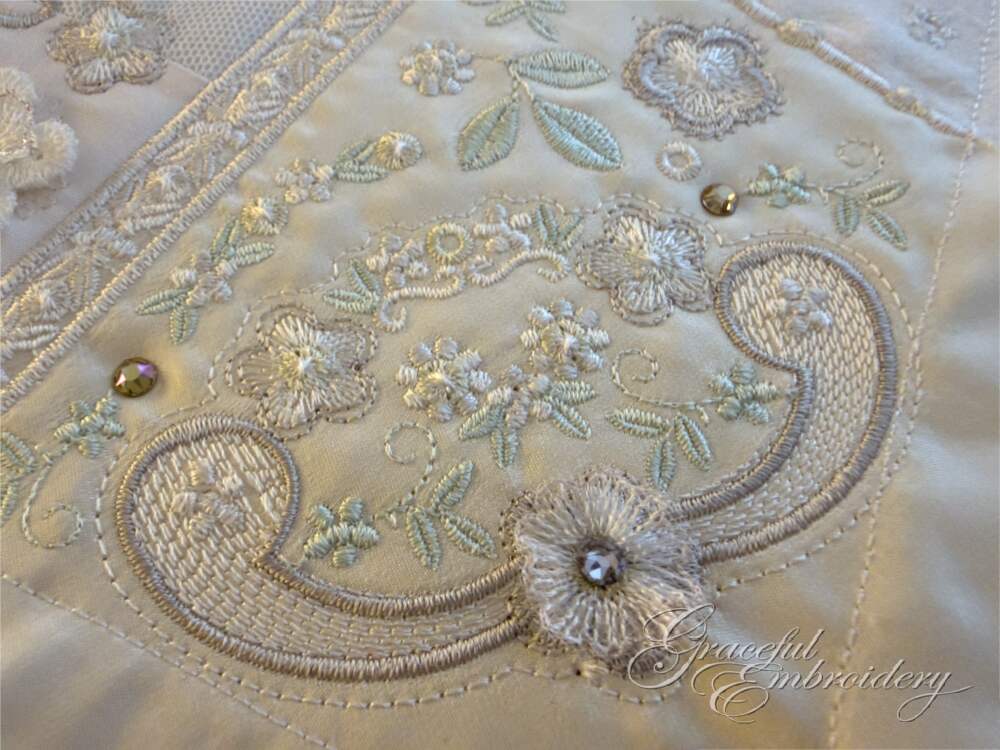
Once the block was finished I decided not to stitch the satin border, as I was aware of some movement of the fabric. Always consider how you going to use your block and whether the satin border will improve and enhance it. However I decided to add some hot fix crystals. For a very luxurious look you could omit the centres of the flowers and give each one a little hot fix pearl but there are over a hundred of them so make sure you have enough crystals to do this before removing the block from the hoop.
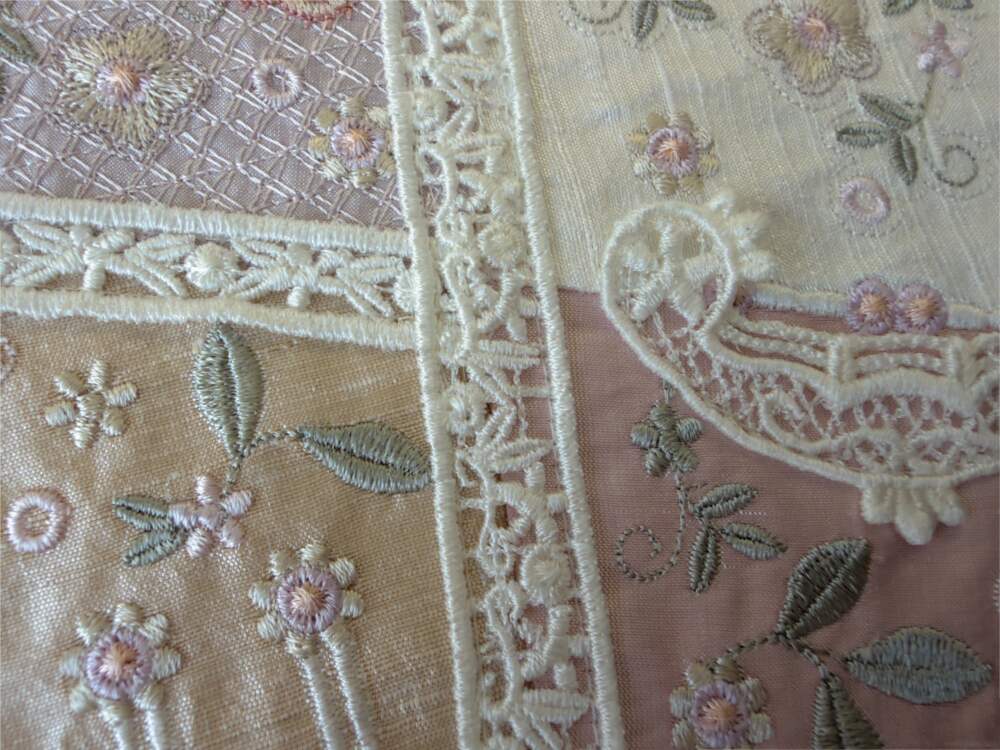
Overall this stitchout went well, but I should have added a layer of stabilizer and not depended on the batting. The final photo shows you one of my other stitchouts where free standing lace is sewn in place after the embroidery is complete. I have tried to give you lots of choice when embroidering this block. Customise it to suit what you are going to use it for. I can see this block used for a very special bag, on a cushion or even several quilted together for a unique table runner!
Happy embroidering from Hazel