


















Joining embroidered quilt blocks QYAG part 1
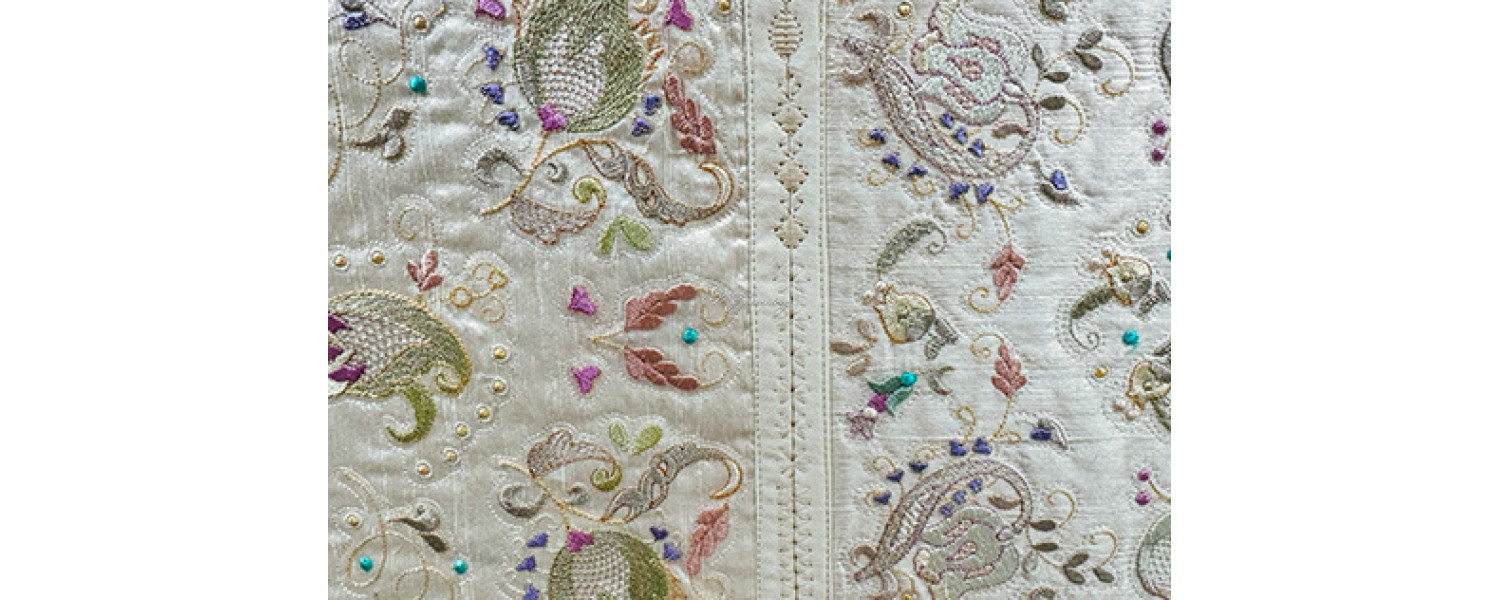
Over the years I have created quite a few embroidered quilt blocks and I am often asked how they should be joined. With more Quilt blocks soon to be released I decided I needed to explain the methods that I have used for Quilt as You Go (QAYG)
|
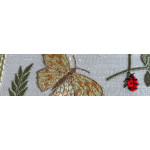
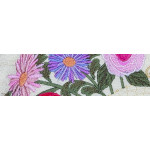
One of the NEW Spring Potpourri Quilt blocks to be released soon |

There really is no simple answer to this question of how best to join your completed blocks with QAYG but the secret is in your planning. Once you have decided how you are going to join the blocks you will know what size to cut your fabric, batting and backing. Firstly you need to decide which method to use as the various methods will give the finished quilt a slightly different look. There are numerous ways of doing this. It can be done with or without sashing, but I think sashing is best as it acts like a frame around each block.The sashing does not have to be very wide, but it will seperate each design so your quilt is not too busy. In the more traditional method of quilting the quilting stitches are added along with the batting and backing when all the blocks have all been joined. To avoid the expense of having a completed quilt professionally quilted or trying to squeeze the whole quilt into the stitch area to the right of your needle, it is easier to quilt as you go.
|
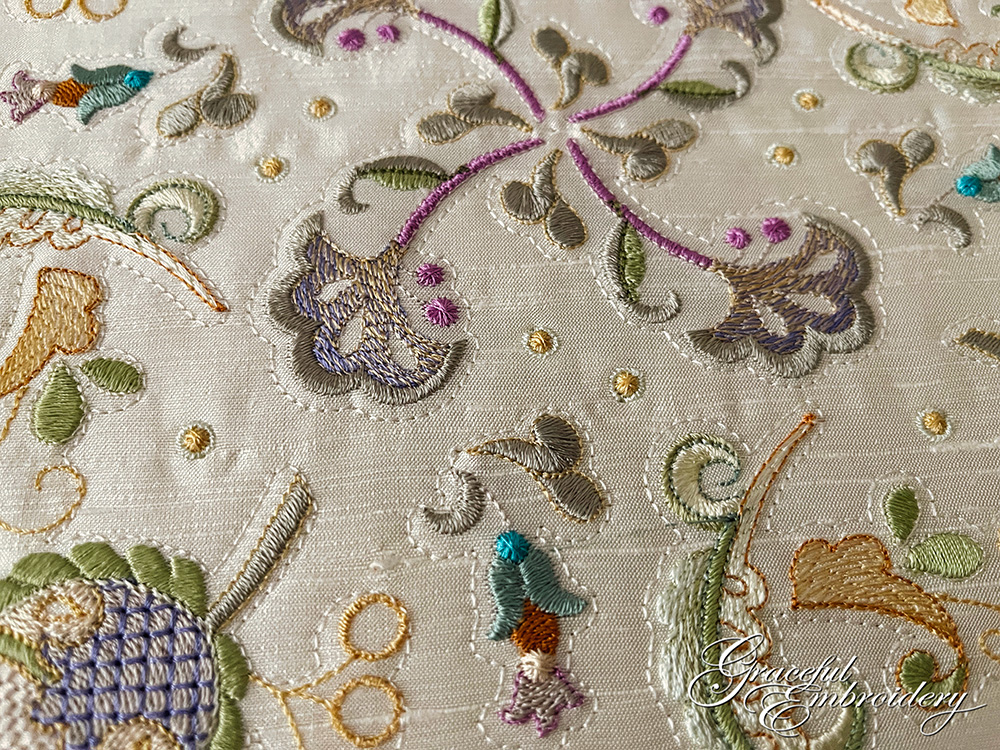
The quilting stitches in this Strawberry and Cream block |

My preference is to add the batting under my fabric at the beginning of the stitch out, and to use an embroidery batting which means I don’t need any stabilizer. I would rather not add the backing at this point, as attaching it later means it will hide the back of the embroidery. If you do not have embroidery batting, use ordinary punched needle batting and place one layer of mesh stabilizer under that. For suitable quilt blocks that have the quilting stitches last in the stitch sequence, the batting can be added just before they stitch out. Ideally this gives a wonderful look, pushing up your embroidery but it is not always that accurate as the embroidery will have moved a little and some outlines may be a slightly off centre as shown below. This is due to what happens as a design is stitched out. One way to avoid this would be to do free motion quilting around the finished embroidery, referring to my quilting stitching as your guide.
|
How misalignment can happen with the quilting stitches if batting is added after the embroidery. |
You will probably have heard the phrase in the machine embroidery world, “pull and push compensation”. This is something we need to understand especially when it comes to squaring our finished embroidered blocks before joining them altogether. There will always be a small amount of shrinkage when embroidering out a block, and this will vary depending on the density and amount of embroidery stitches in the design, as well as how well your hooped your work.This is also the reason for the misalignment with quilting stitches if the batting is added later in the stitch out.
|
One of the Marianne quilt blocks. |
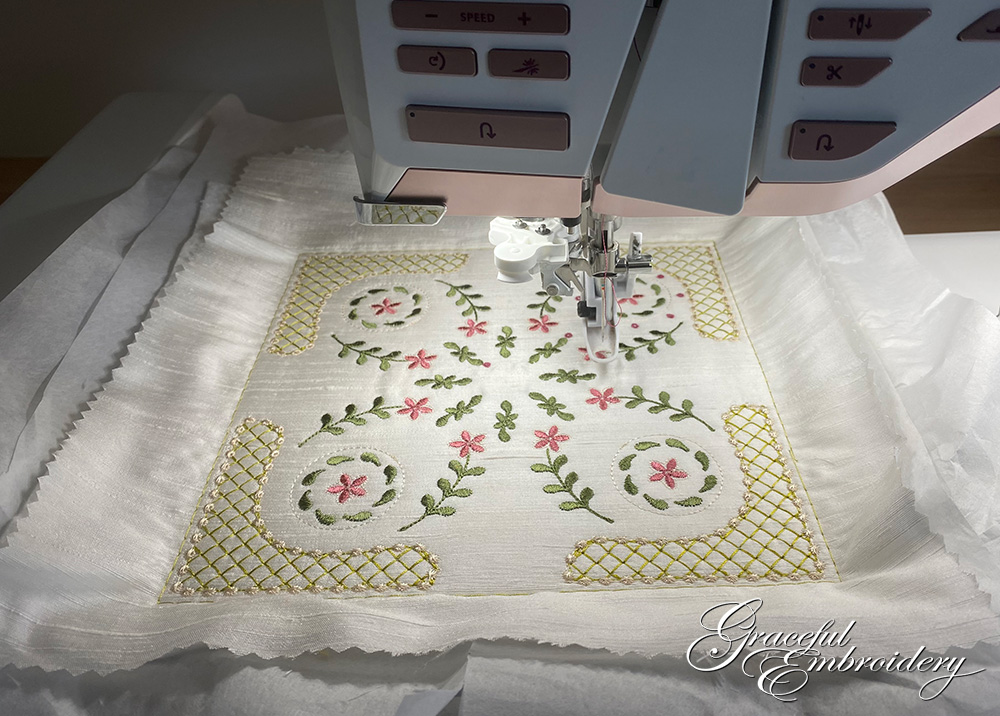
If you ever use my Outline Alignment stitches (OAS) I suggest that you stitch the second set again when your design is finished, you may notice that the fabric has pulled in very slightly in the middle at the sides. A certain amount of distortion is inevitable as overall the stitches pull in at the sides and push out at the top and bottom. My first attempts at joining embroidered quilt blocks were not very successful as I did not take this into consideration, not measuring the finished designs on all sides, to see if they were all still square! Check out one of your stitch outs to see how much they are shrunk! You may be surprised.
|
A Beatrice quilt block with satin borders. |
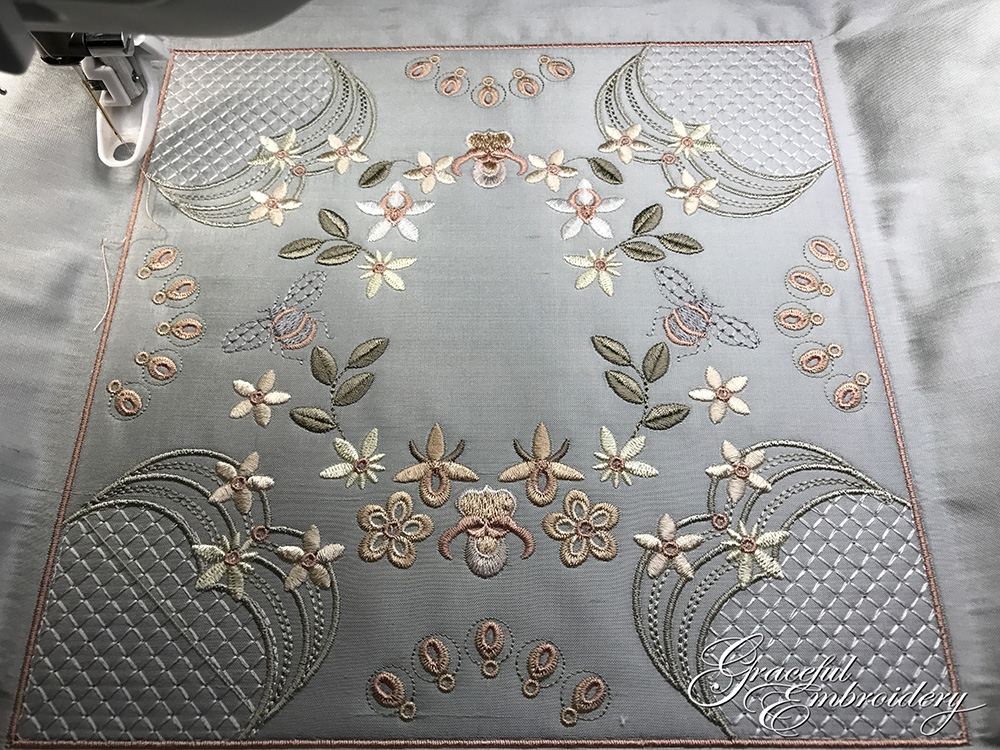
Most of my quilt blocks have an optional set of satin stitches to create a border around the design. Often as not, it is the last colour to stitch out. If you stitch these you may not have so much freedom to trim and square your blocks as they may emphasize any descrepancies. So that is another factor to be considered in your planning. However in some designs like the one above, the satin border is essential. Over time I have discovered that it is always best to embroider on a much larger piece of fabric than what you think you may need. For the Beatrice block above a non quilted area of about an inch or so, around the embroidery design, will make squaring and joining the blocks much easier. At the time of releasing the 12 Jacobean Sampler quilt blocks, I struggled with joining them with sashing between, to create a quilt and they became an “unfinished object”, a UFO. All these blocks were embroidered with the batting underneath but I when I squared them off, I trimmed too close to the satin borders! On reflection it was probably not a good idea to plan to have so close to the satin border. A gap would have disguised any misalignment!
|
Embroidering the Jacobean Sampler quilt blocks |
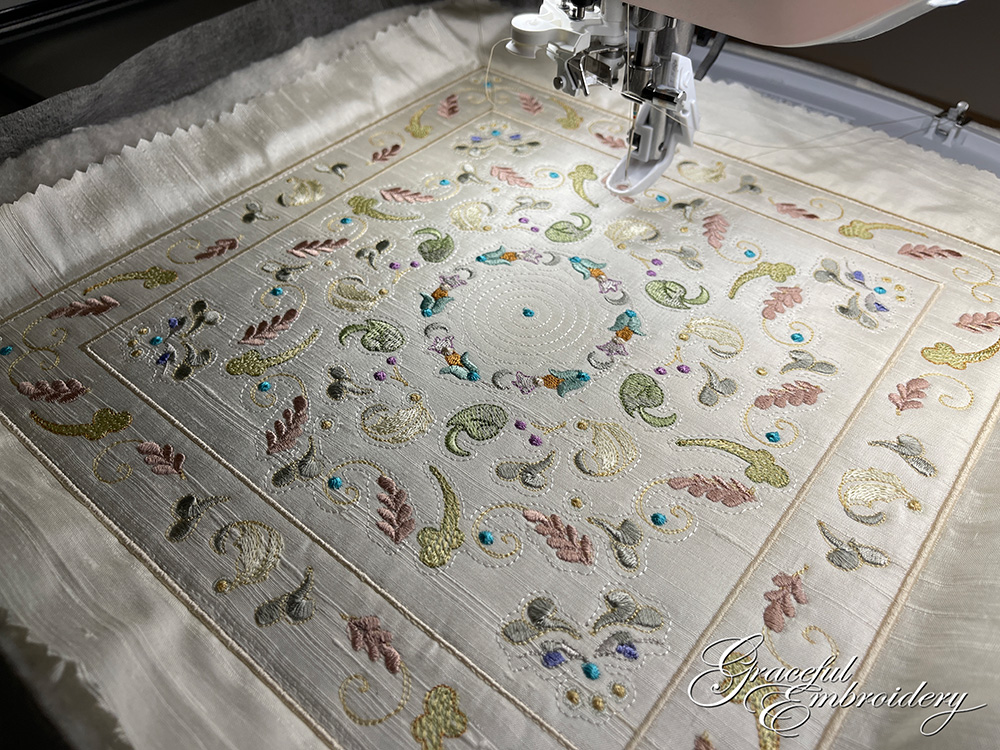
I had added a larger piece of shot golden turquoise silk dupion as my backing with the intention of bringing it round to the front of each seam to create a sashing with a seam showing down the middle. Each side was to be folded under and top stitching down each along the edge holding it in place. For this method, each block is joined by placing the backing fabric right sides together, creating a seam along the edge of the batted embroidery so that there was no gap between each block. Creating each row of three blocks worked fine for me, until I attempted to join these rows, nothing matched and I confess I gave up in frustration. Recently, when I decided to make a further attempt at getting this right, I discovered, to my horror, that some of the blocks were smaller than others and that most were not even square any more, despite being digitized that way. No wonder I had difficulty. Several years on I have learnt a little more about QAYG and the embroidering out of quilt blocks.
|
The backing attached to the embroidered block. |
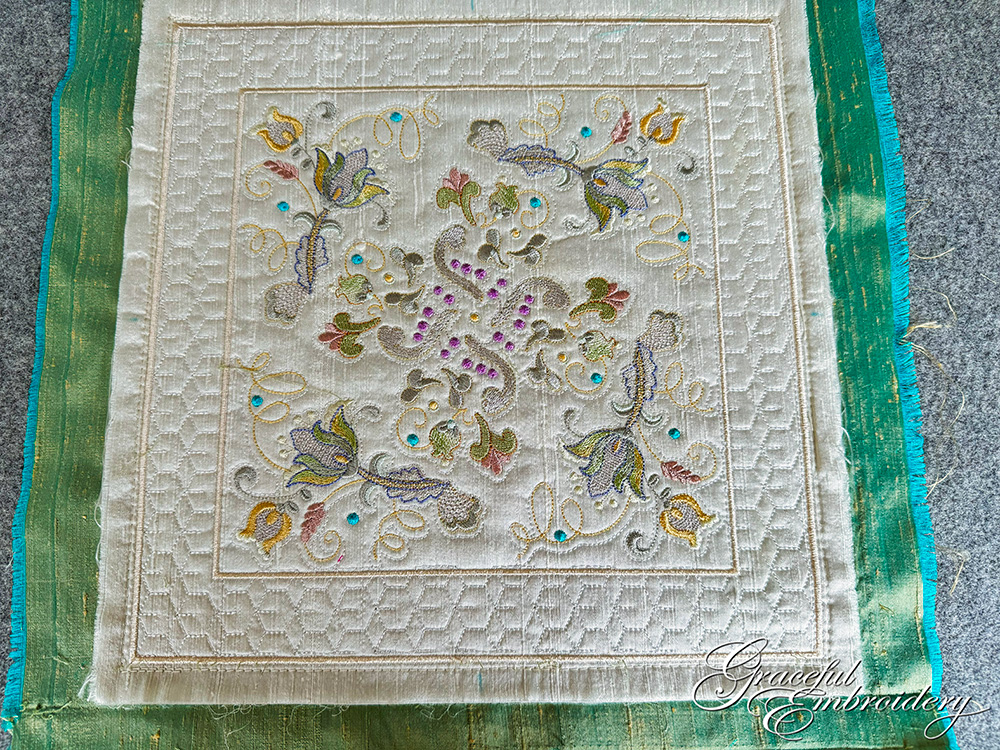
I have now unpicked all twelve Jacobean Sampler blocks which were stitched out in my 260mm x 260mm (10.2" by 10.2") hoop, and am starting afresh. Limited in the amount of the silk I used for the backing I must be careful not to waste it. This is a gorgeous silk dupion left over from making an outfit for one of my daughter’s weddings. I have discovered that it is vital to measure every block before you begin trimming them all. You must measure side to side, and top to bottom, which I failed to do! For now I have left the backing in place. It will need to be folded underneath as I trim the blocks with my rotary cutter so that they are square. Now I need to make careful calculations before I square off each block. None of the embroidered blocks are absolutely square, so you can see why I wish I had not embroidered the outer satin border or had cut the fabric and batting much larger. I am going to attempt to save the backing fabric, which will also create the sashing, to fold over the front and cover the satin borders as shown in this sample below.
|
Testing the ¾" join with a few decorative stitches |
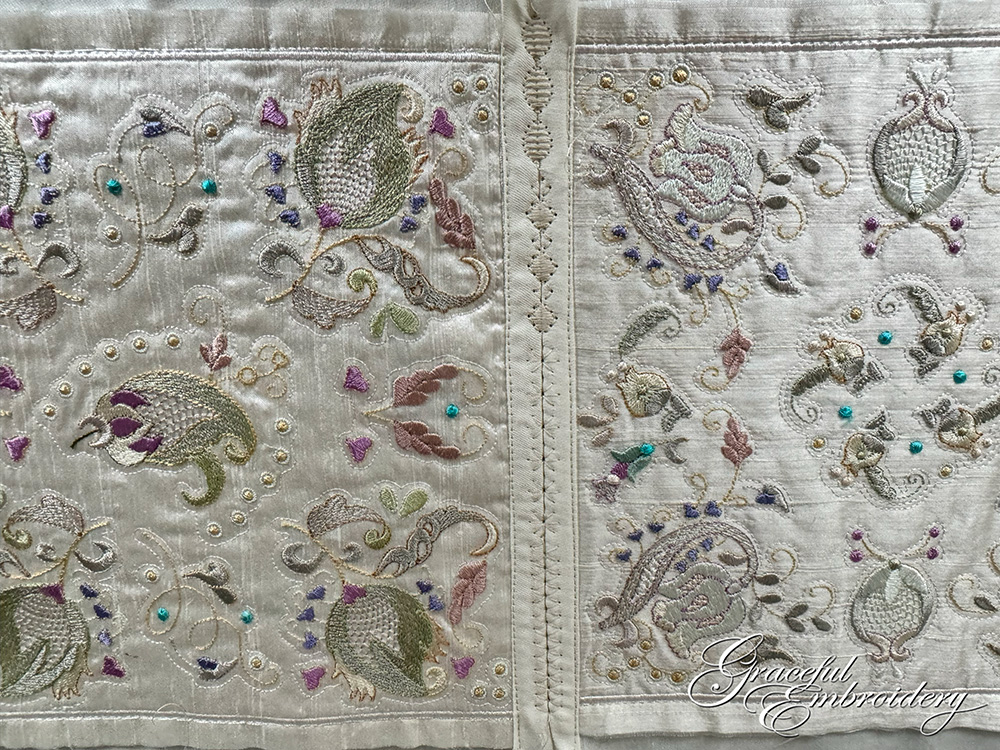
The smallest embroidered block side was 9¾", so every side of every embroidered block needs to be that measurement so they are absolutely square. After much “faffing about” and a couple of tests joining spare quilt blocks, I opted for a three eighths seam allowance all round, so the sashing created by the backing will be ¾" wide, and hopefully most of the satin borders will be hidden under it. This requires that my backing fabric extends about 1¼" on every side of every block. Then I marked the centre of each side of the quilt block, having already tested to see if all markings with a Frixion pen disappear from my silk when ironed, I used my pen to mark the turquoise backing fabric. I confess that I do not have a multitude of quilting rulers and squares but I invested in an excellent Creative Grids 12" square to help with the cutting. I think I will add some small labels on the grid, so that I can see exactly how to place them on the blocks for cutting. I want to eliminate any further errors so I plan to go slowly. I have also decided on a back up plan if it all goes wrong again. Squaring and trimming is not a task to do late in the day! Best make your calculations, use the Frixion pen to mark the cutting lines and test them again before cutting when you are fresh in the morning. When you consider how long it takes to embroider out all twelve of these blocks “triple checking” everything is essential.
|
Working with a Creative Grids 12" square |
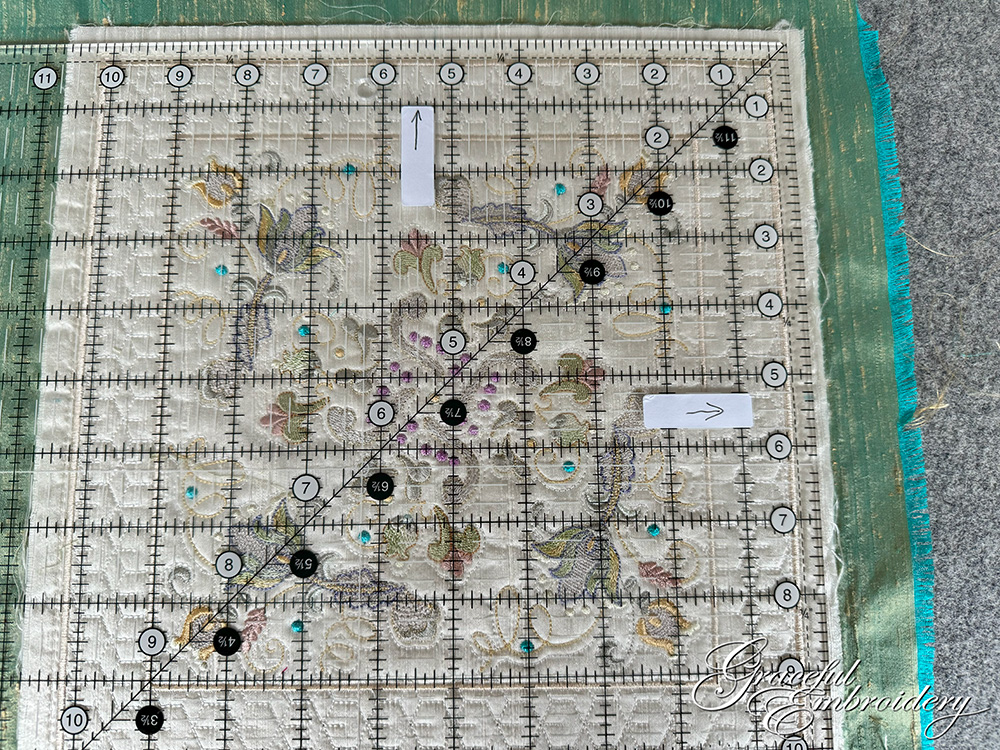
After all this planning and measuring etc, I am ready to square off all the blocks. Writing about this challenge had helped me get my head around the whole issue.
Here is a link to part 2 of this blog.
Happy embroidering from Hazel