

















How to embroider all over fabric
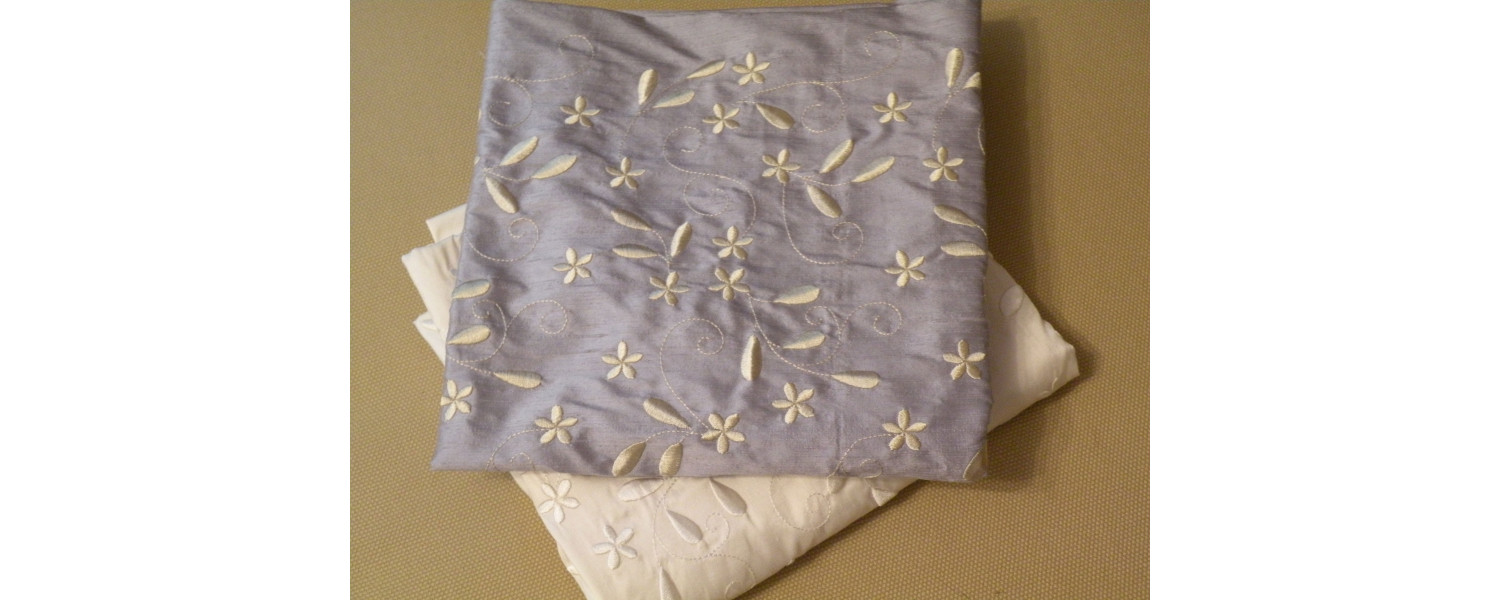
When I enter a fabric store I always head for the silk and the embroidered fabrics. Usually I am disappointed about the lack of choices, so I have always loved the idea of creating my own embroidered fabric, as is allows me to make my own very unique fabric. It is very easy to do and works much like a jigsaw puzzle….
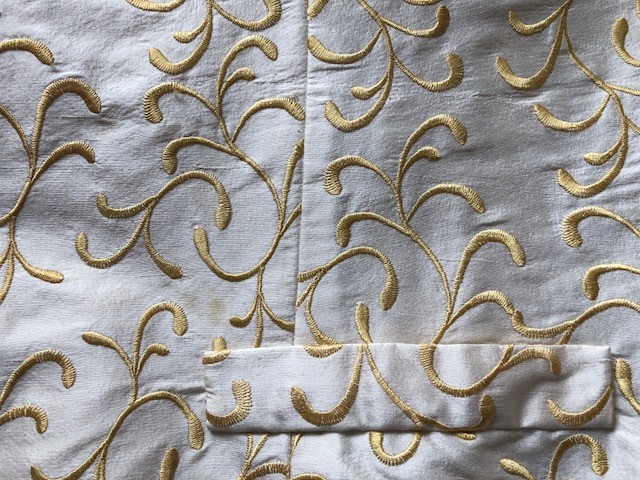
My first project was creating fabric for seven wedding waistcoats as the bride could not find the right fabric for her colour scheme. This involved a huge amount of hoopings, probably over fifteen per waistcoat. The challenge was finding a design shape that fit above, below and each side of itself to give the perfect all over effect.
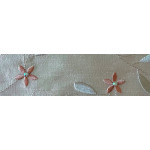
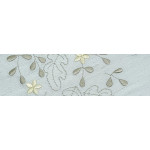
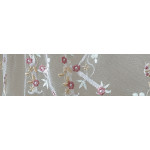
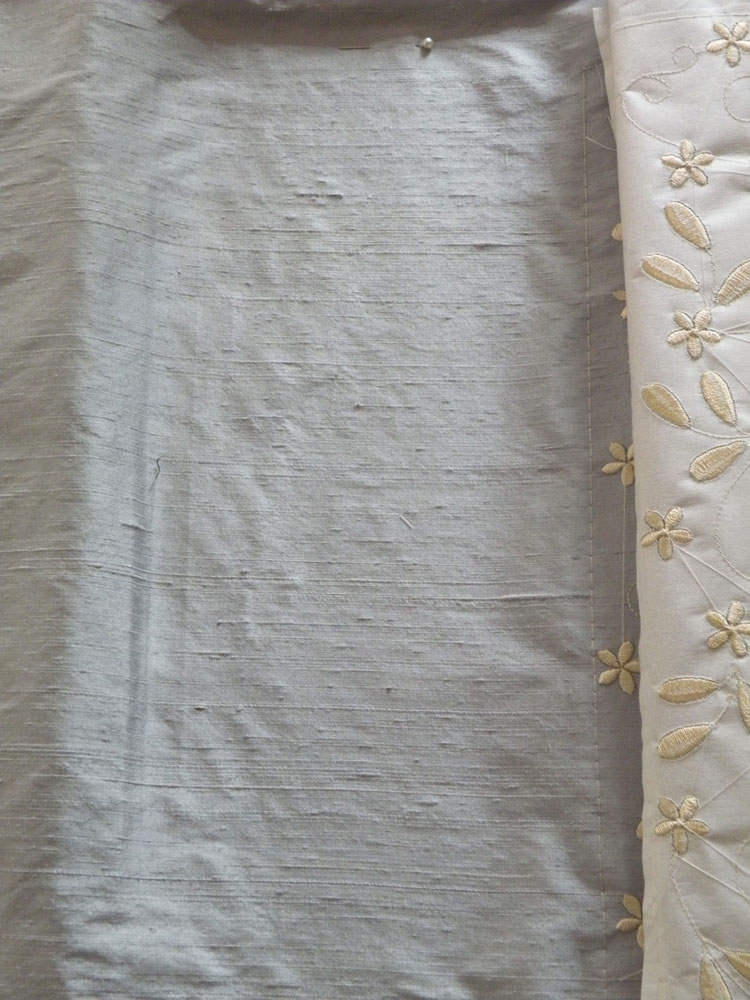
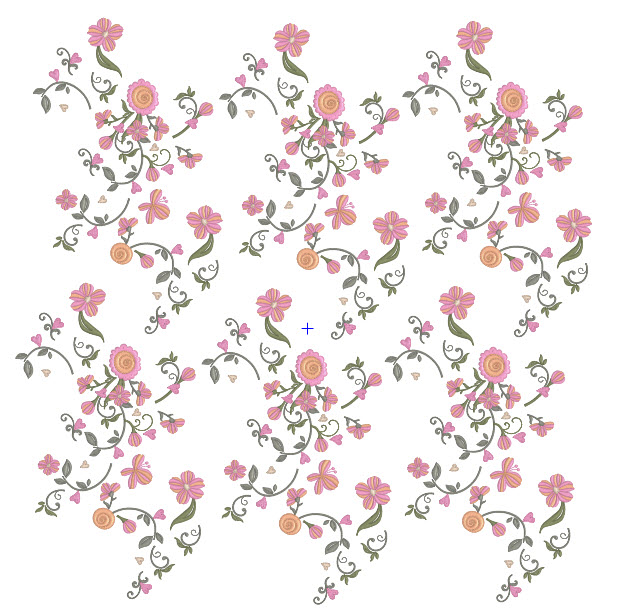
For this I created a simple scroll type design. My next challenge came with my first collection, Dainty Vines and for that I created the Dainty vines fabric block. I decided I would embroider fabric for the bodice on a dress for my grand daughter. I used pale blue silk dupion for this dress, and embroidered it with Sulky Rayon 1071 off white. /Blog2/All over fabric/151. Creating the embroidered fabric beforehand is in my opinion so much easier than embroidering the fabric pieces of a cut out bodice. You may want to consider this for embroidery work on collars and cuffs and other small areas. The larger the hoop the quicker your embroidered fabric will be finished.

Obviously it is important to create more fabric than you need, then when it comes to cutting out the sections, you can move the pieces around to get the best coverage. As this was quite open embroidery I did not attempt to match the back pieces of the bodice. The embroidery was done in my 360 mm x 150 mm hoop, involving several hoopings. I found that it was helpful to remove excess stabilizer from each design before adding the next one, so it did not build up. Each design sat nicely against the next one so the alignment was easy and even if there was some misalignment this did not show.
I would advise that your first attempt at embroidered fabric is something similar.
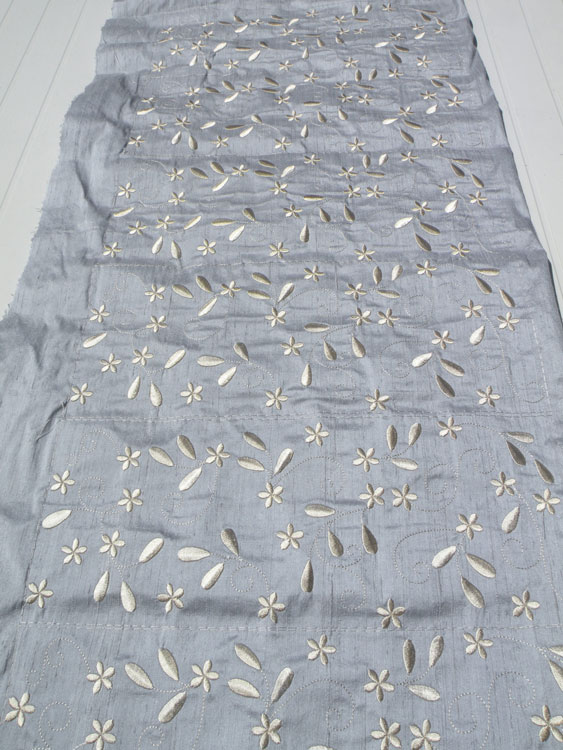
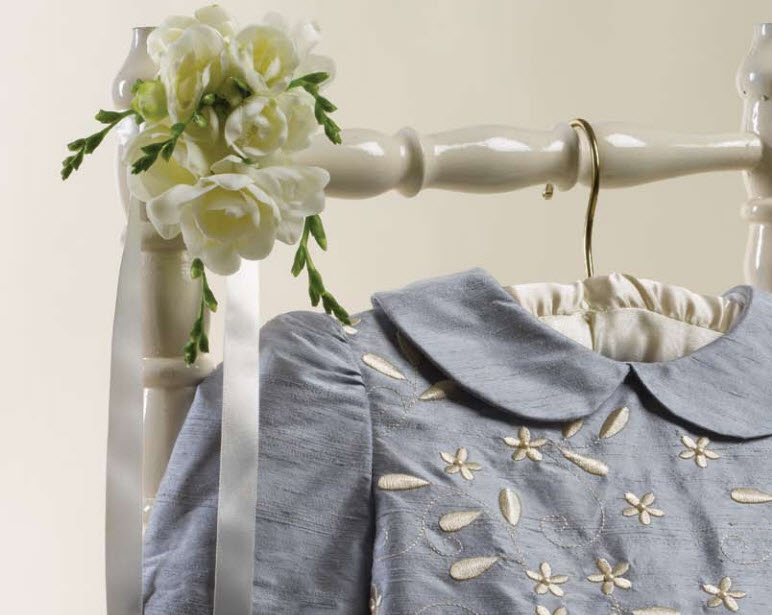

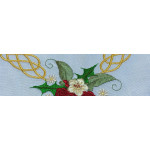
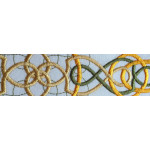
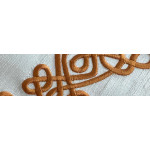
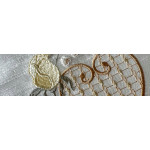
There are many designs at Graceful Embroidery that are also suitable for creating embroidered fabric.
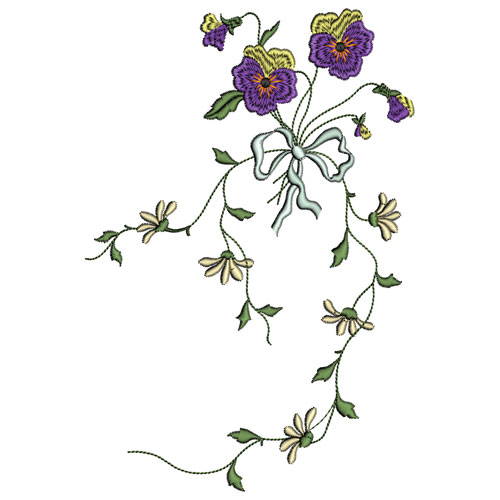
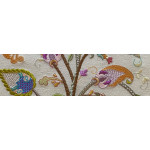
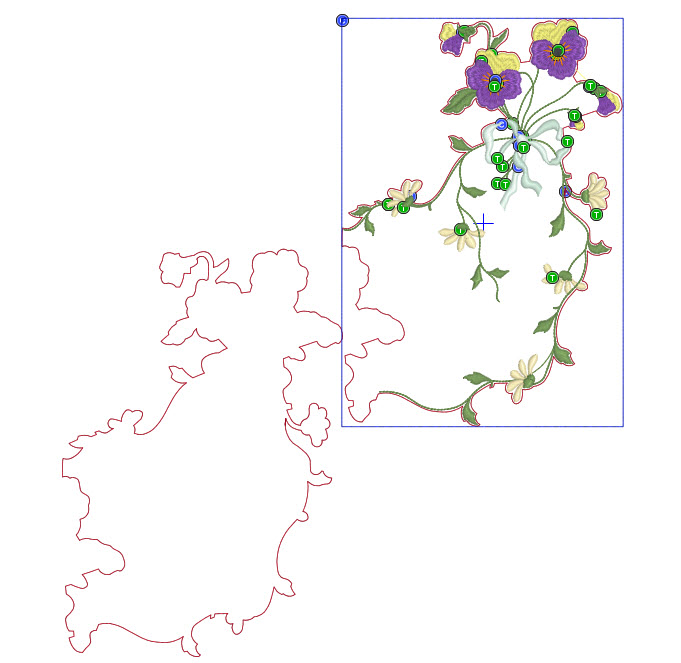
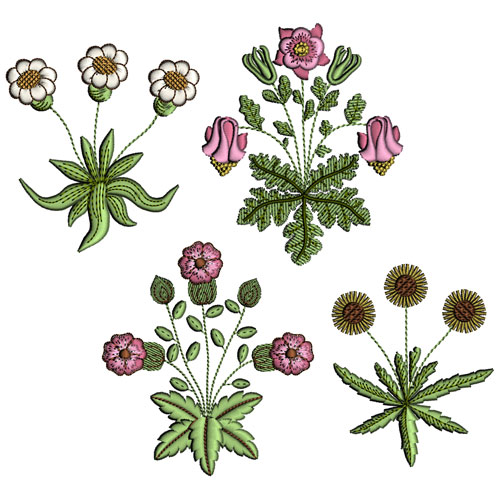
This design from Heartsease 3 will create an interesting fabric, where lots of fabric is required. Each design needs to placed in such a way that the flowers sit between the open tendrils. Here you see the design with Outline alignment stitches (OAS) open in my software. These makes aligning each design so much easier.
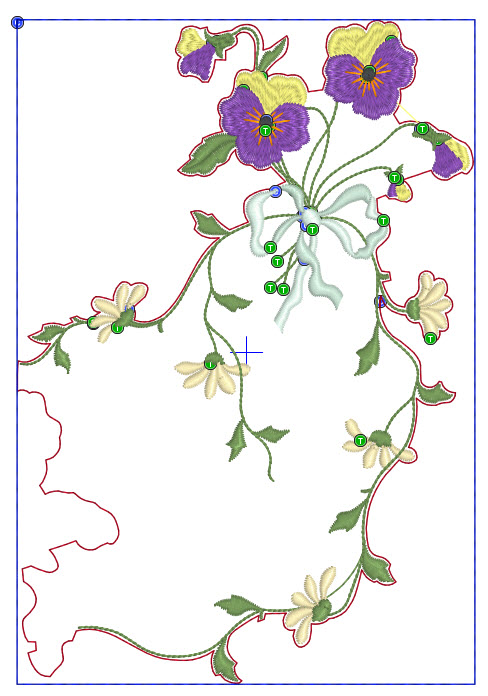
Hoop just one layer of stabiliser, and stitch out the first set of stitches, shown here in red. Then you can see the basic outline of the design. Notice how the outlines will slot into each other if the second outline is moved to the right.

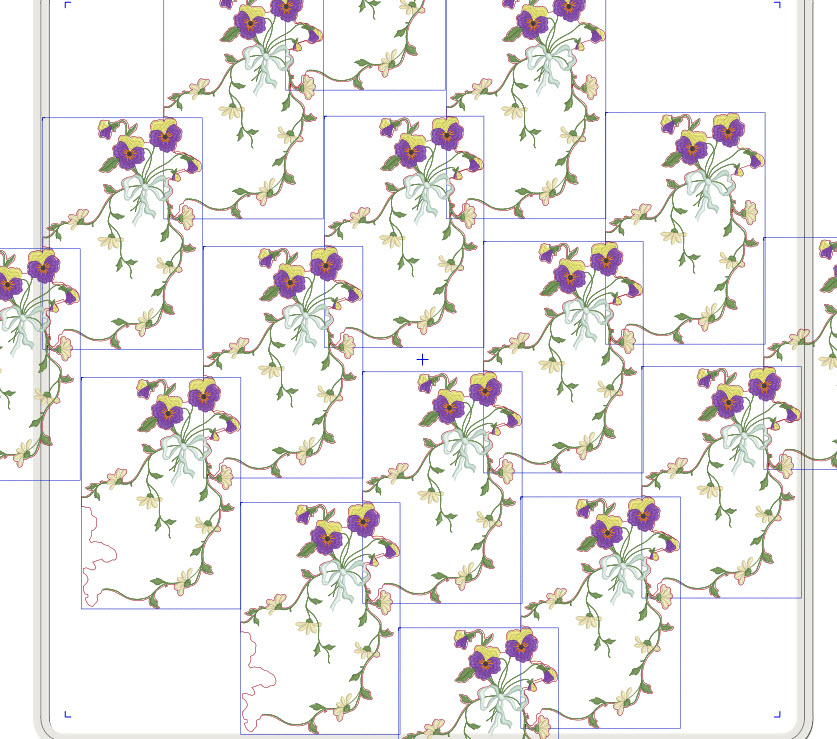
This the overall effect of embroidering out this design. I remember that it took me a while to get it to fit nicely with itself.
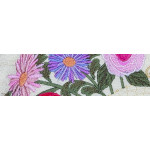
This block from Amore Grunge 4 will create a dense fabric. Each design needs a small amount of overlap so that each square is not obvious.
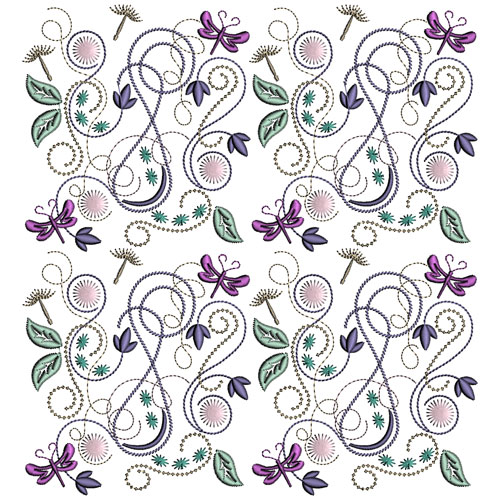
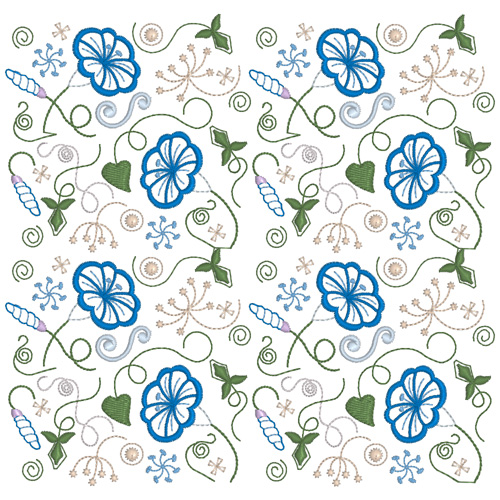
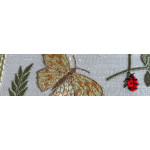
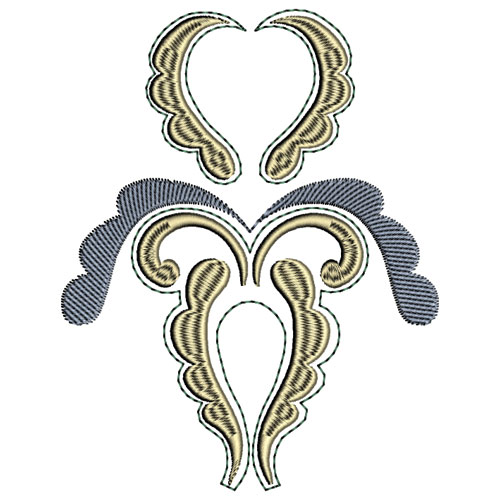
Smoky Mornings 5 has several designs which would look great for embroidered fabric for a man’s waistcoat. Place them in alternate rows for a very classy look and a unique fabric nobody else will be wearing.
|
|
|
|
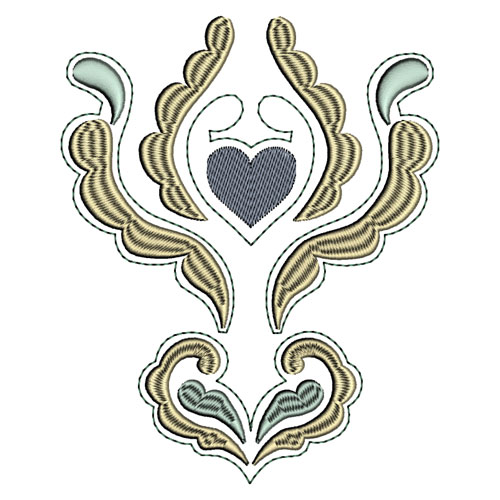
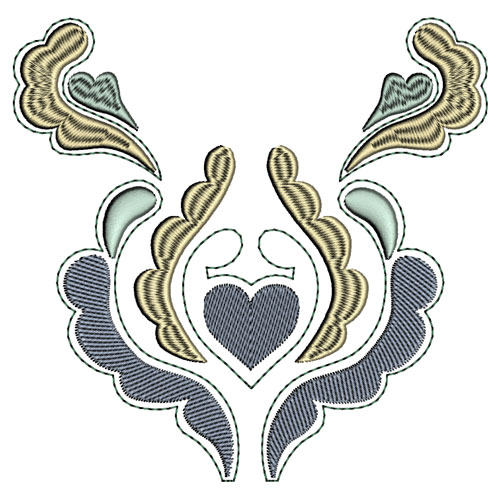
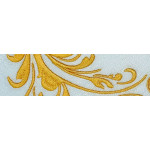
Lastly this is a similar type design as the Heartsease one, from Une Petit Princesse 3, creating a beautiful fabric of diamond shaped embroidery.
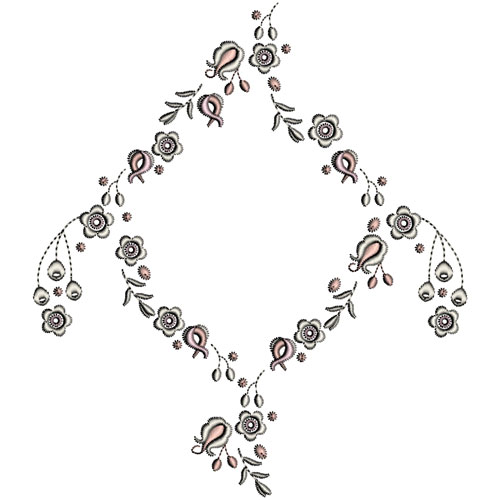
Now you see the basics of this method, I am sure you will find designs that can be used successfully. The more I look, the more I find. Do share in the comments section of this post your ideas for embroidered fabric and any particular designs from Graceful Embroidery that lend themselves to being part of your next project.
Happy embroidering from Hazel