


















Facial features for the Graceful Embroidery angels

When I started digitizing angels I choose not to give them facial features, as I felt this made them more ethereal. This was my personal preference and it still is, but I have noticed that some customers prefer to add facial features. Until now this could only be done by hand or with a fine marker pen. Having been asked to create facial features I went ahead and shared what I came up with. After feedback I took the favourites and digitized them all into one design. There are four different faces and all the eyes, noses and mouths have been given their own colourway making it easier to mix and match them as you edit them. Be careful what thread you use for these delicate features. I advise against black and suggest a taupe or mid grey. They will also look even better if embroidered with 60wt embroidery thread which is much finer. If the details do not show significantly you can always stitch them again. It is also a good idea to turn off your automatic trimming on your machine if you use it, so you get a neater look. You can see where the trims happened my stitch out below especially in the singing mouth. These sort of stitches can also be pulled through to the back of the embroidery with a Dritz Snap Nab it or a Snag repair tool.
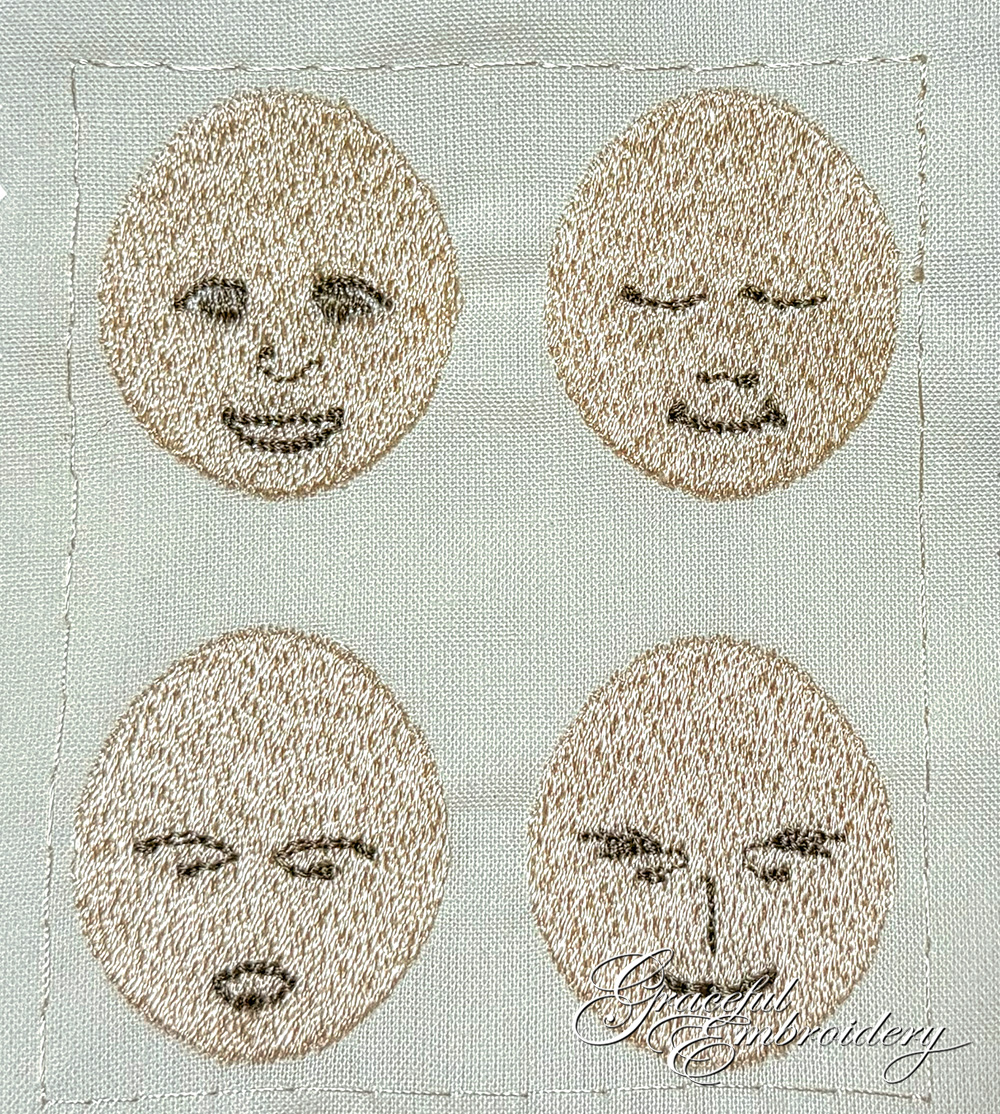
It also became obvious that many wanted to omit the chin when adding features. I think this is a good idea. As a result all the designs in the Rosemaling angel set have now been adapted to make this easier to do.

The chin has its own colourway so it be left out of any design or edited out in your software. The designs for this angel have all been updated and as well as the facial features a few new designs have been added.

There are now 2 capes which can be made for your angels and they tidy up the back of any angel perfectly. Each comes in all three versions of the Rosemaling angel. For other angels I suggest you create plain capes. Before the final satin stitches are stitches a layer of lining can be placed under the hoop to finish them perfectly! Hold this in place with some tape if you are worried about it moving or spray a little temporary adhesive spray. You can also trim your jump stitches before doing this, as access will be lost after doing this. After completion, the cape is carefully trimmed as close to the satin stitches as possible. I suggest that you create the first shown above on felt which is so forgiving and does not fray. Felt makes the second cape quite bulky and when attaching the hood I found I had to use a large denim needle on my machine and I covered the finished seam with a small bias strip of the silk lining to make it neater.

Back to our angel’s faces. With each element seperate, you can select any combination of eyes, nose and mouth. You may prefer to only add the eyes or just the mouth. It was interesting to read all the various comments about these faces. The bear minimum is probably all that is necessary. I have included the faces in the design only as I guide as to where best to place these features. The face does not need to be stitched.

I have prepared these facial designs to make it as simple as possible so the red Outline alignment stitches as shown in these images, will guide you as to where the centre of the face falls. Remember these guidelines are only stitched on the hooped stabilizer, if you are adding the features to a completed angel design, so the colour doesn’t really matter.

If you are embroidering over a finished angel, she can just be carefully positioned and held in place with a little tape, a few pins or with a stylus. Stitch the mouth first to check your alignment. If you angel has boning behind the face this will need to be removed first.

It will be easy to add the features into your embroidery software and you will find that I have shown where best to do this in the charts within the accompanying PDF which has also been updated. The chart below is for GFE-RSA-1 and colourway #8 is the chin.

If you do not have embroidery software to edit the required designs, then you will have to do it on your machine screen or just position the features over a completed design. Aim to place the eyes in the centre of the face. Lets take a look at the other angels at Graceful Embroidery and see how easily the facial features can be added to them. The first angel I created was the Celtic Angel.
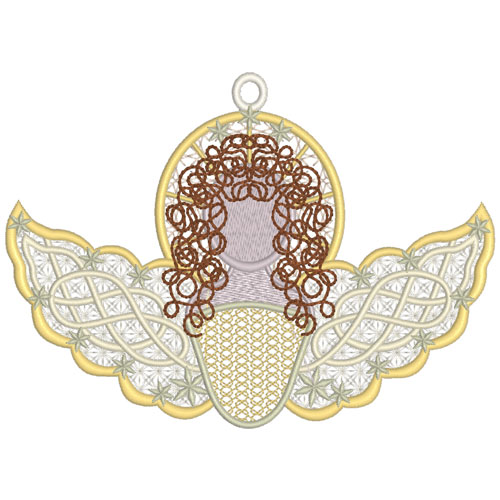
The chin on this angel completely surrounds the face and is part of the shoulders so you may not want to omit it. At the moment it will have to be carefully omitted in your software or you will need to stop your machine when it has finished the shoulders which are stitched out first. The features can of course be added after the design is complete.
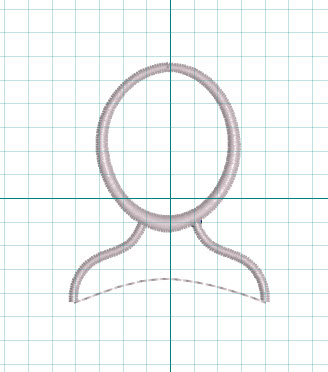
The same is true for the Christmas, Fairy and snow angels.

Their faces are also stitched in the colour way that does the shoulders and surround so you should watch your stitch out and stop before the surround begins, or edit it out in your software.
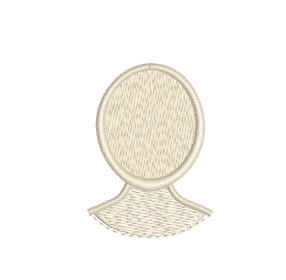
The seperate chin was introduced for the Embroidery Angel and so it has its own colourway and will be easy to omit. This is GFE-EMG-1-APP, which means it has an applique bodice.


The chin is the third to last colourway, #22, so it can be left out easily. I hope you enjoy the update of the Rosemaling Angel. The facial features are now available to download for free with each of my angels or if you have the Rosemaling angel download the designs again so you get the update. You can also download them here:
Download facial features for all my angels
I hope you find this useful. Let me know if you have questions. Do share how you use these features.
Happy embroidering from Hazel