


















Tips for stitching out machine embroidery Free standing lace

Now that I have several Free standing lace designs available here at Graceful Embroidery, may I share my favourite tips for success. Before I go into details, I want to emphasise that these are practises that I use, but they may not suit everybody. This is a vast subject! I encourage you to test them out and even investigate further. You will find many suggestions online, and you need to find out what works best for you and your embroidery machine.
“Only with experimentation will you develop the skills required for the very best results.”
|
|
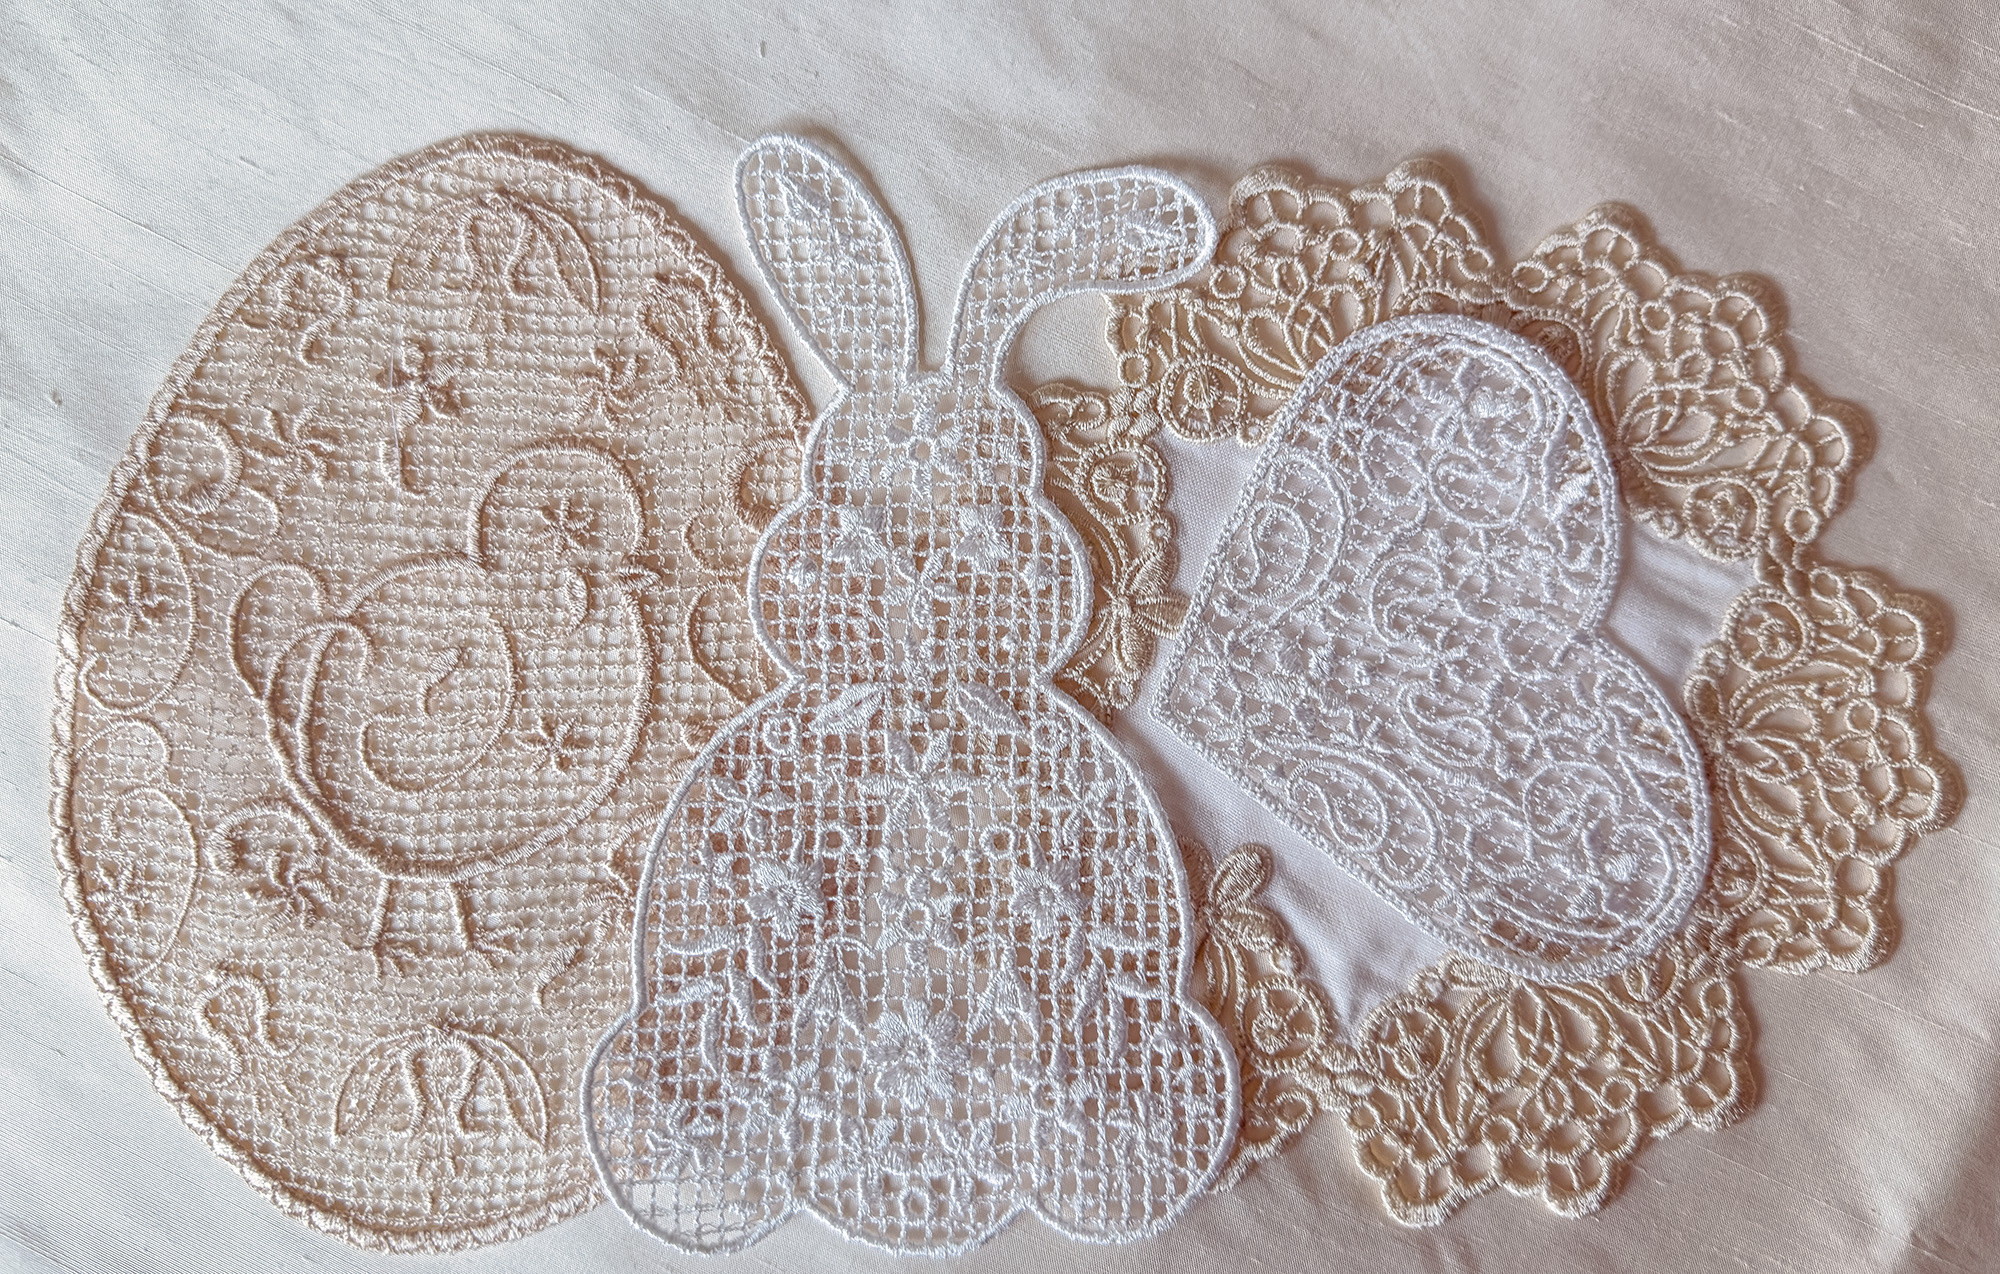
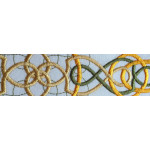
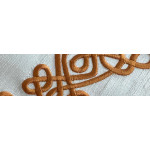
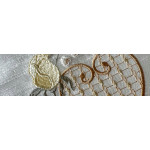
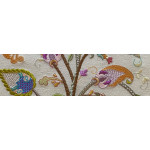
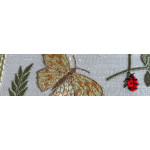
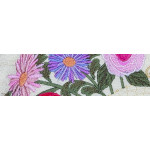
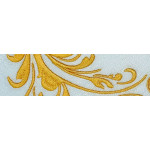
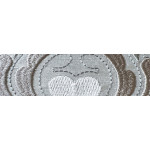
I have spent a great deal of time digitizing Free standing lace designs and testing them out. Some designs are shown above! I prefer to use Floriani Wet N Gone as my number one wash away stabilizer. In perfecting these designs I have got through several rolls of this product and have learned a few secrets to getting the best results. I keep all the off cuts and I have successfully used them for my second layer, overlapping them if necessary or sometimes stitching them together with wash away thread like YLI wash away thread.
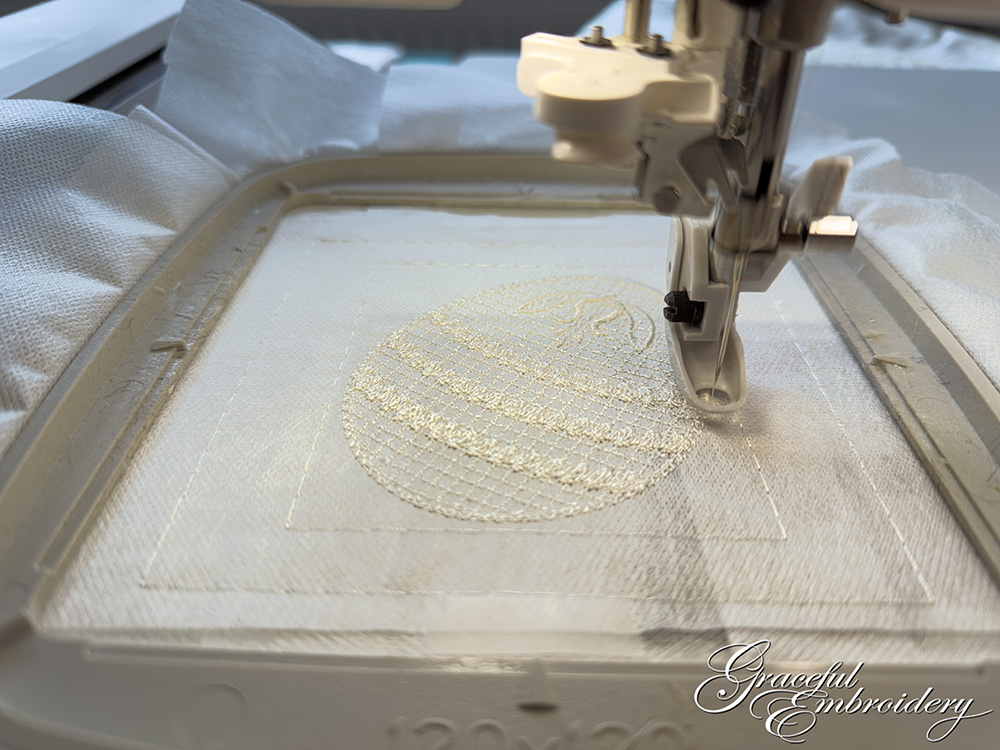
Let’s start with the bobbin thread! Always start with a full bobbin. You can use bobbin thread for white FSL or wind your own bobbins with the same thread as the embroidery. One drawback with using the same embroidery thread is that for FSL designs with large stitch counts you are more likely to have your bobbin run out! Embroidery thread is usually 40 weight but bobbin thread is usually 60wt, so you can see why I use bobbin thread for my white free standing lace, because it is thinner and my bobbin lasts longer, especially for my larger designs.
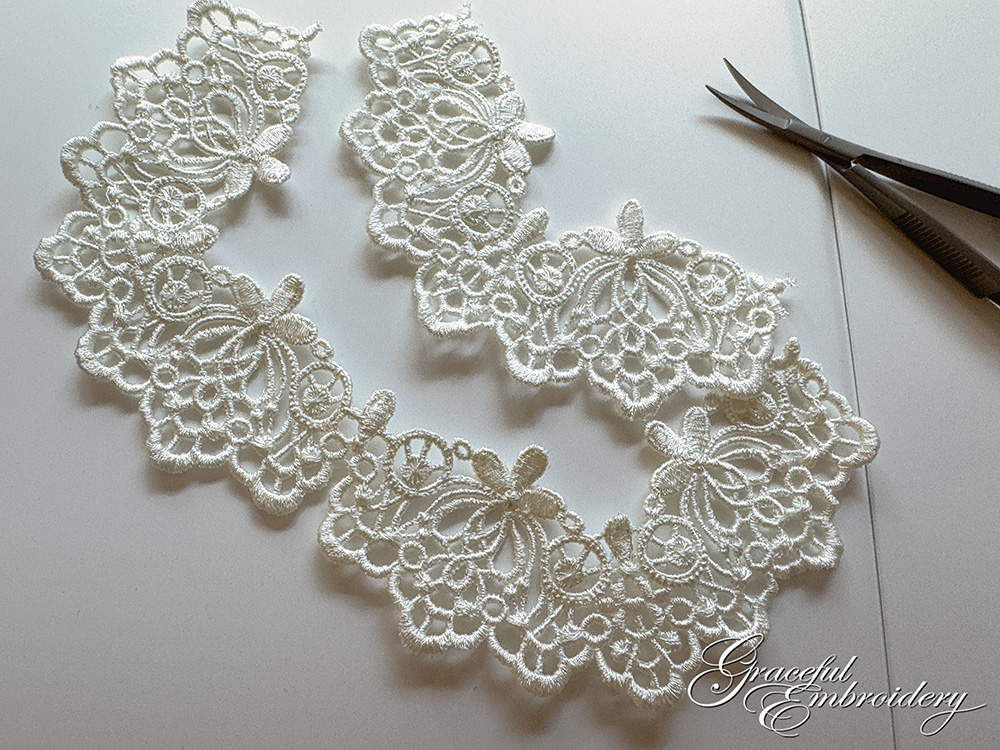
While it is essential to use good quality wash away stabilizer, it is not always essential to use 2 layers. A while back the film type wash away stabilizer was popular but I do not find it suitable for FSL as it can easily tear. It is fine for using over fabrics with a pile like towelling. FSL needs a fibrous stabilizer to support all the stitches. Although your lace will probably look OK with one layer, I find that it is worth the expense of a second layer as less of the supportive underlay stitches are likely to pop out, especially in more complicated larger designs.

Experiment on how best to cut your stabilizer as it is not cheap. If you have a long length of stabilizer and just cut out the finished lace you will be able to save on the amount of off cuts you end up with. I have purchased Wet N Gone in all three widths, which are 12", 15" and 20". Always hold the roll across the hoop and also turn it ninety degrees to see if you waste less that way.

Although you may be tempted to hoop several small FSL designs in one hooping, I would do each separately. It will be worth the extra time spent to do this as the smaller the hoop the better the results!
|
|

Free standing lace can be embroidered with a variety of thread types. I found that when using Aurifil 40 wt cotton, I got a lot of fluff in the bobbin area, which needed regular cleaning. With bobbin thread in the bobbin, I had to adjust my thread portioning as I had looping underneath. On my machine I increased it from 50 to 70 and got perfect results. Do not be afraid to adjust your machine. The controls are there to be used so you get better results.
“Get comfortable with adjusting your tension settings on your machine. They are there to be used.”
